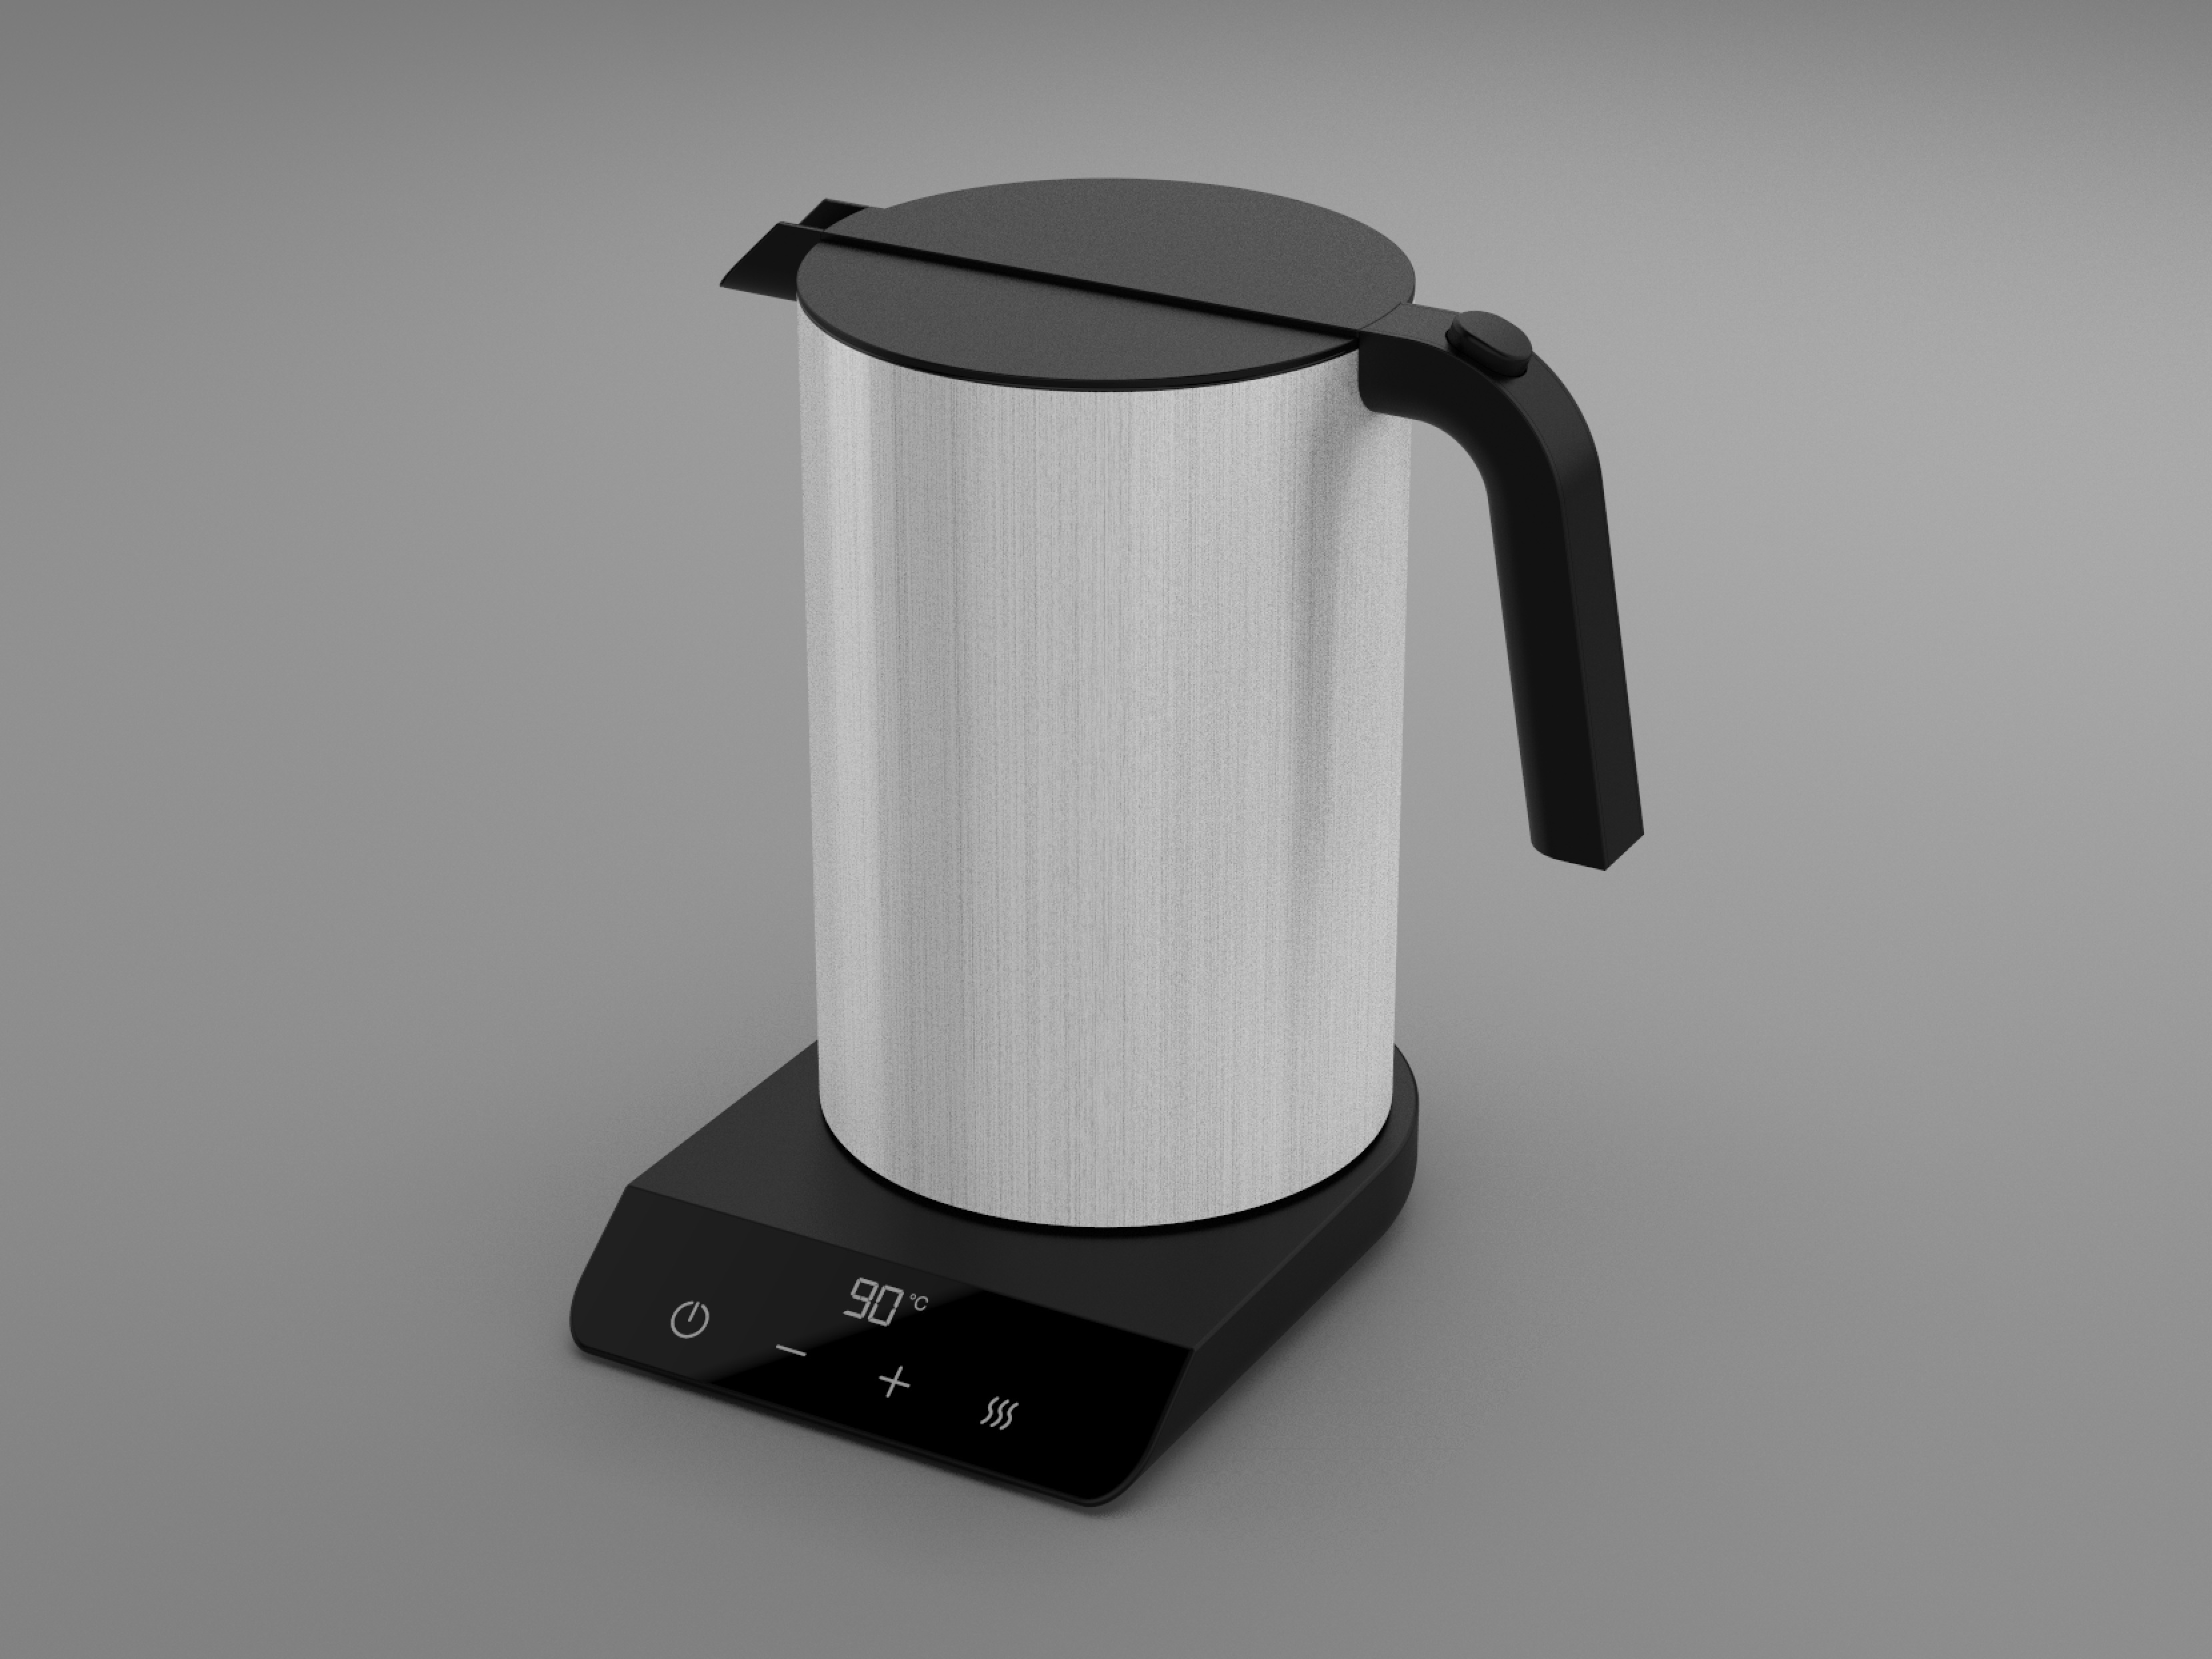
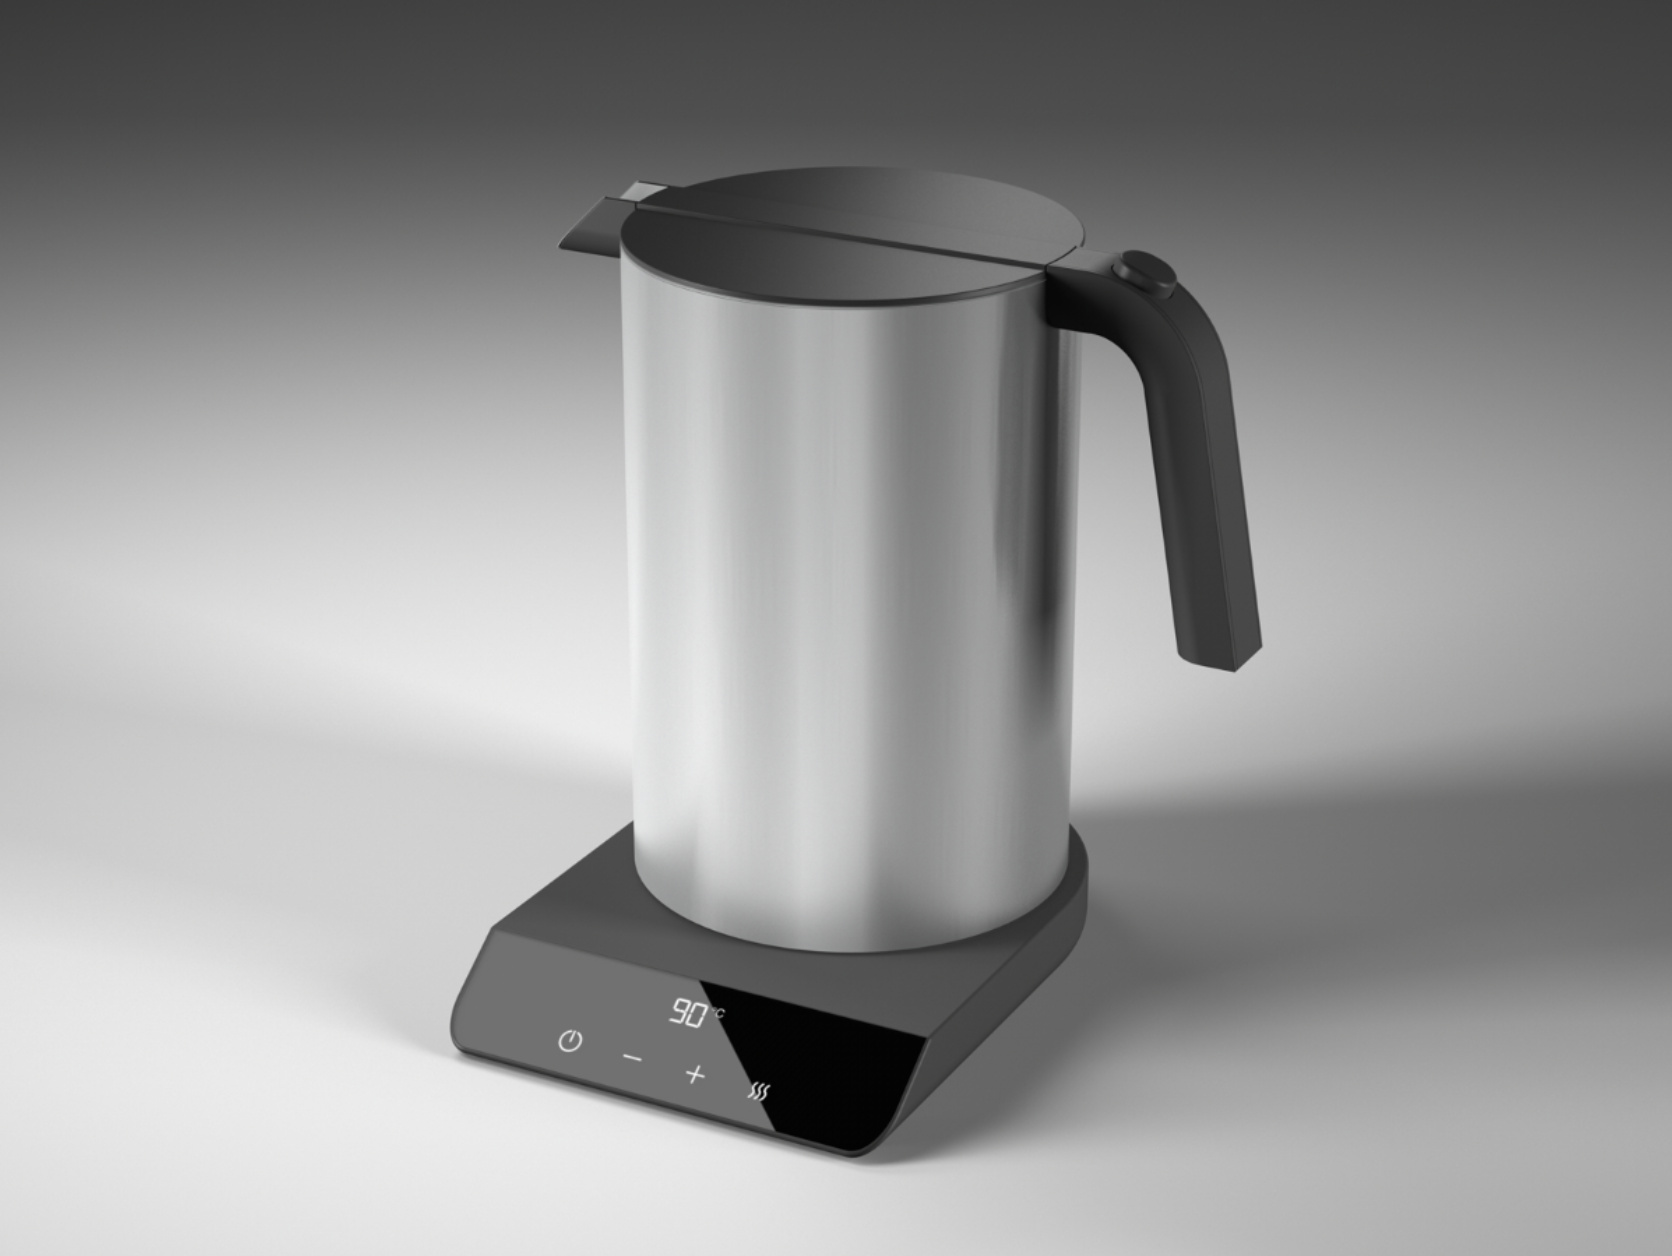
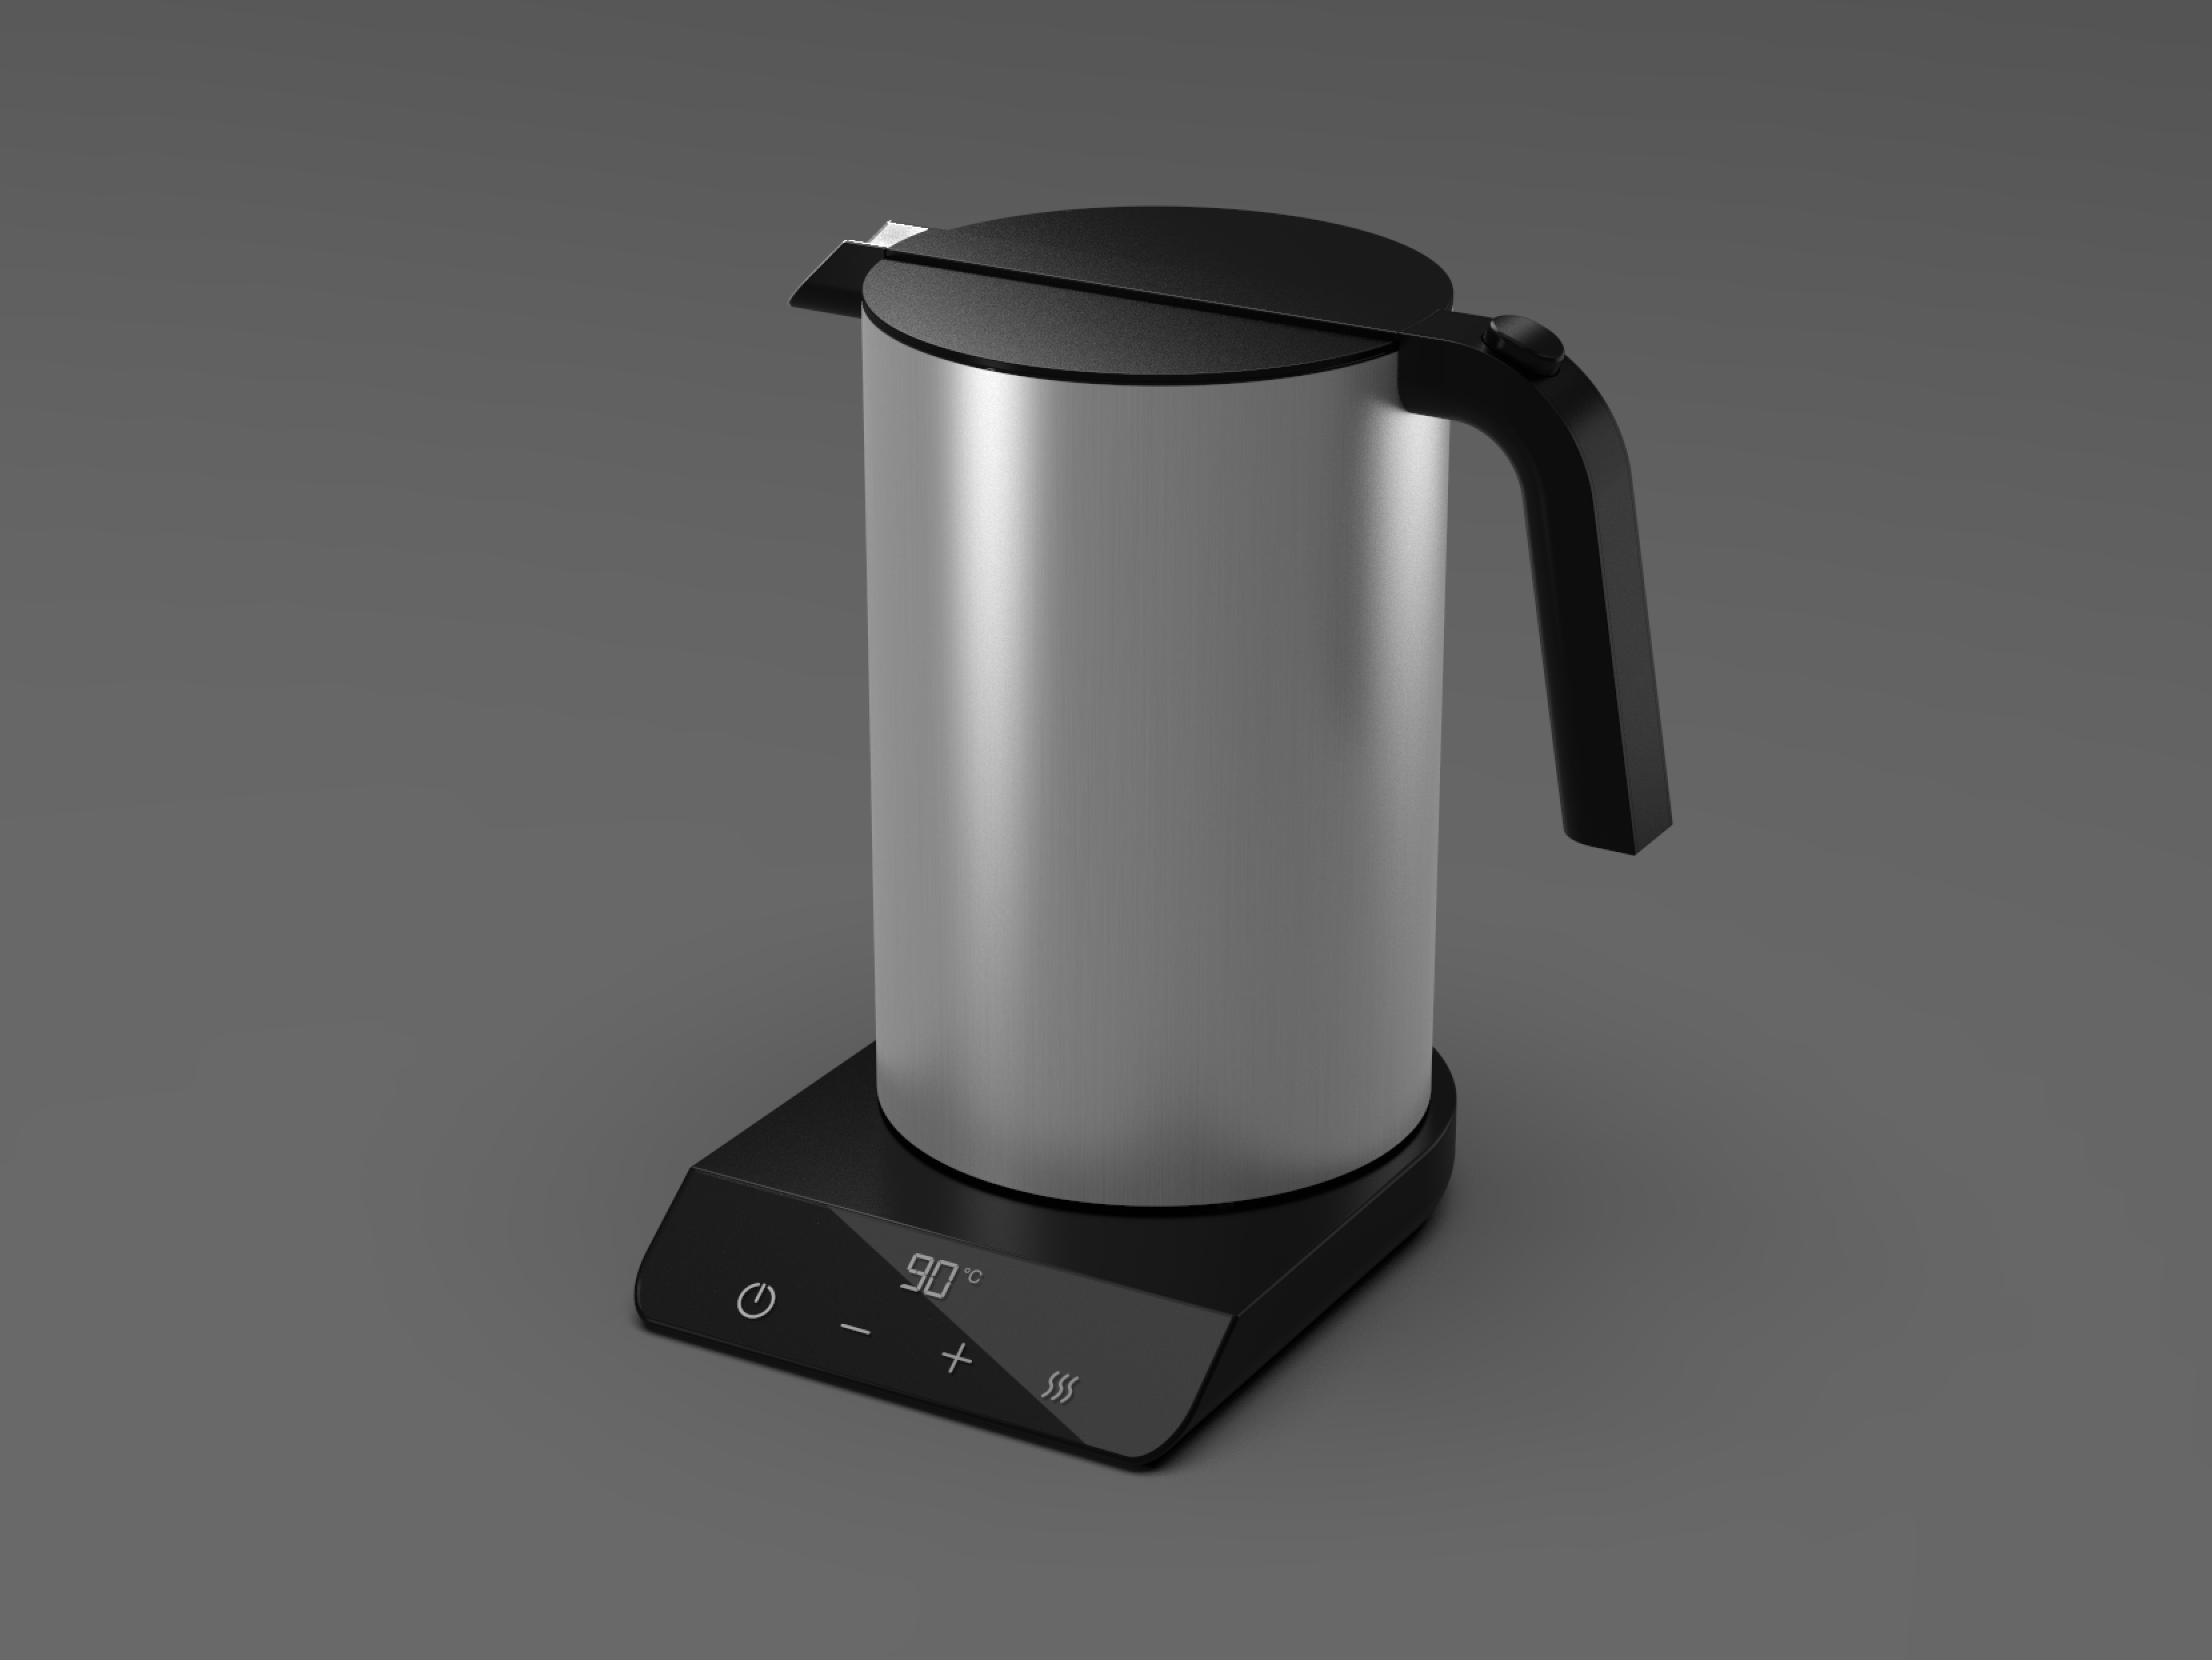
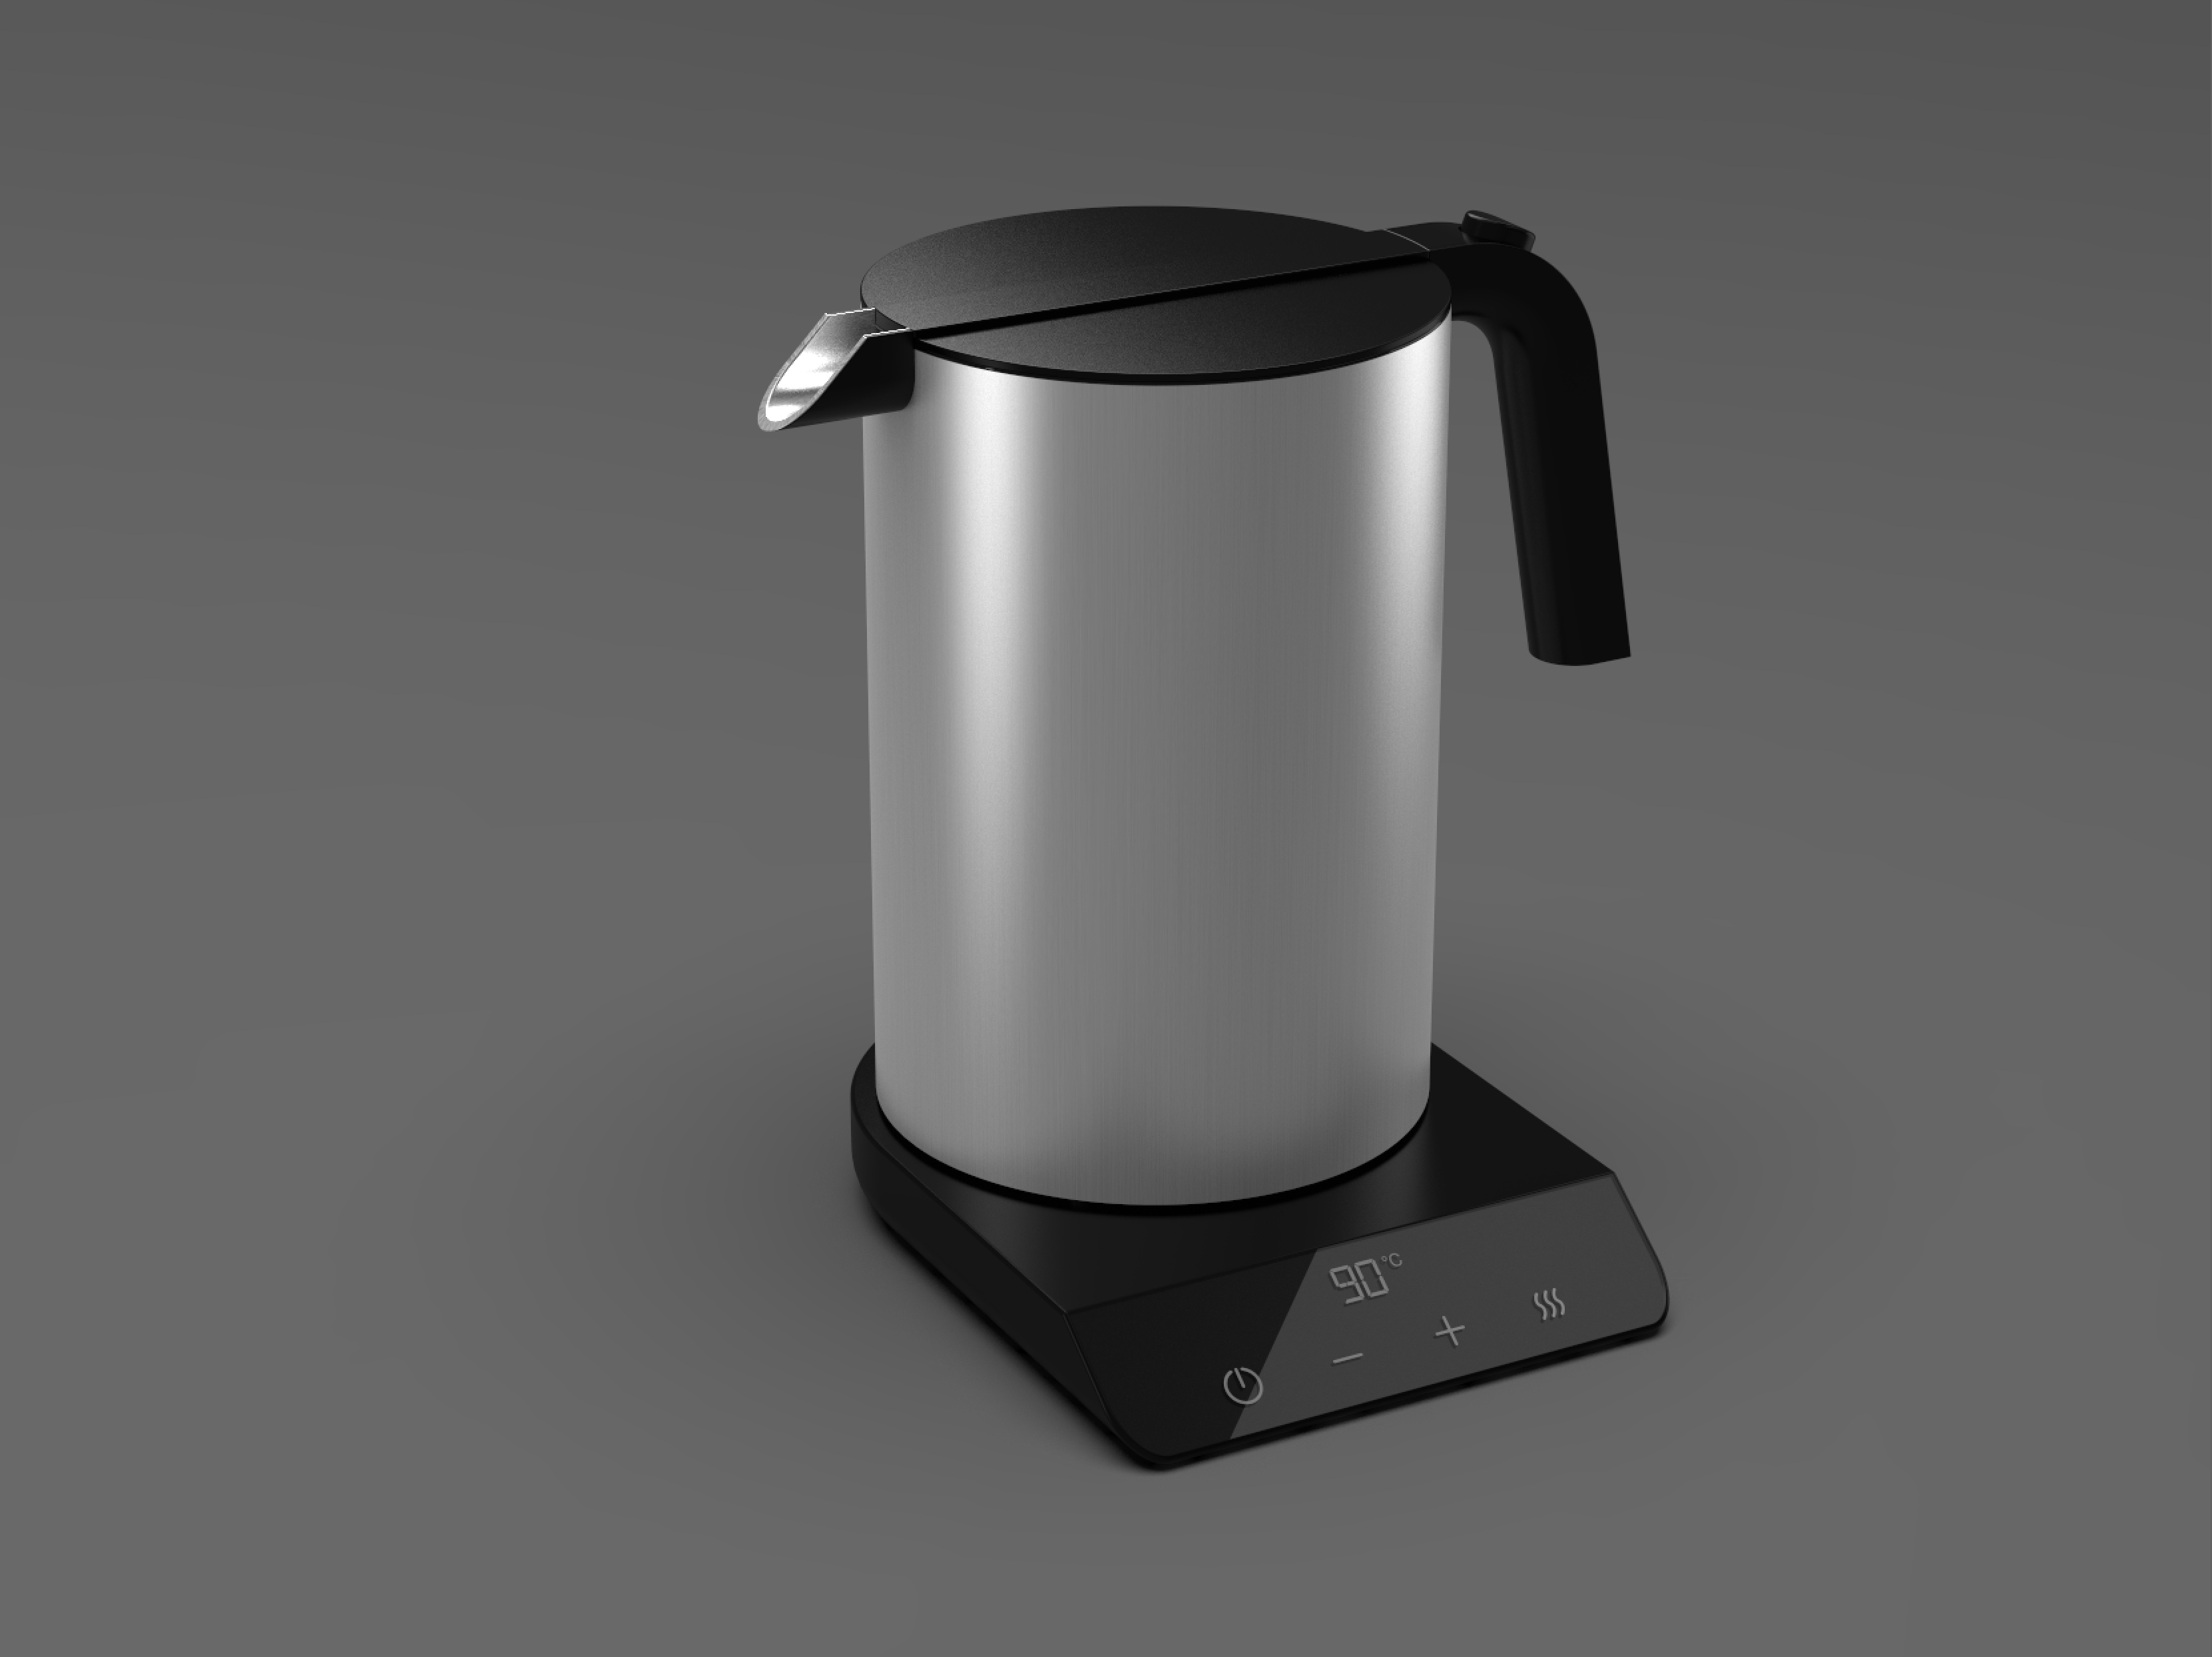
I compare the same object rendered in KeyShot vs Cinema 4D and I am not happy with the weak shadows. I’d like to have more contrasting shadows to give the rendering more of a depth. How can I create shadows similar to the ones I got in Cinema 4D?
In you Keyshot rendering, are you just dropping the model into a HDRI and calling it day?
There is two ways you can approach lighting this, you can either go the HDRI and to get the base lighting and then adding pin lights to create the accented lights you want. You have to make sure the HDRI scene scale matches your model/object size as well. If you are using too large of a scale for the HDRI vs your object, it would just make the light super soft.
The second way to approaching this is using panel/circle geometry and changing the material type to area lights and positioning them similarly to how you would setup a studio photo.
You most definitely can create a similar lighting quality as dynamic as you like as in C4D, but if you provided more information on how you are lighting the scene in Keyshot, maybe I can help you get closer to your goal.
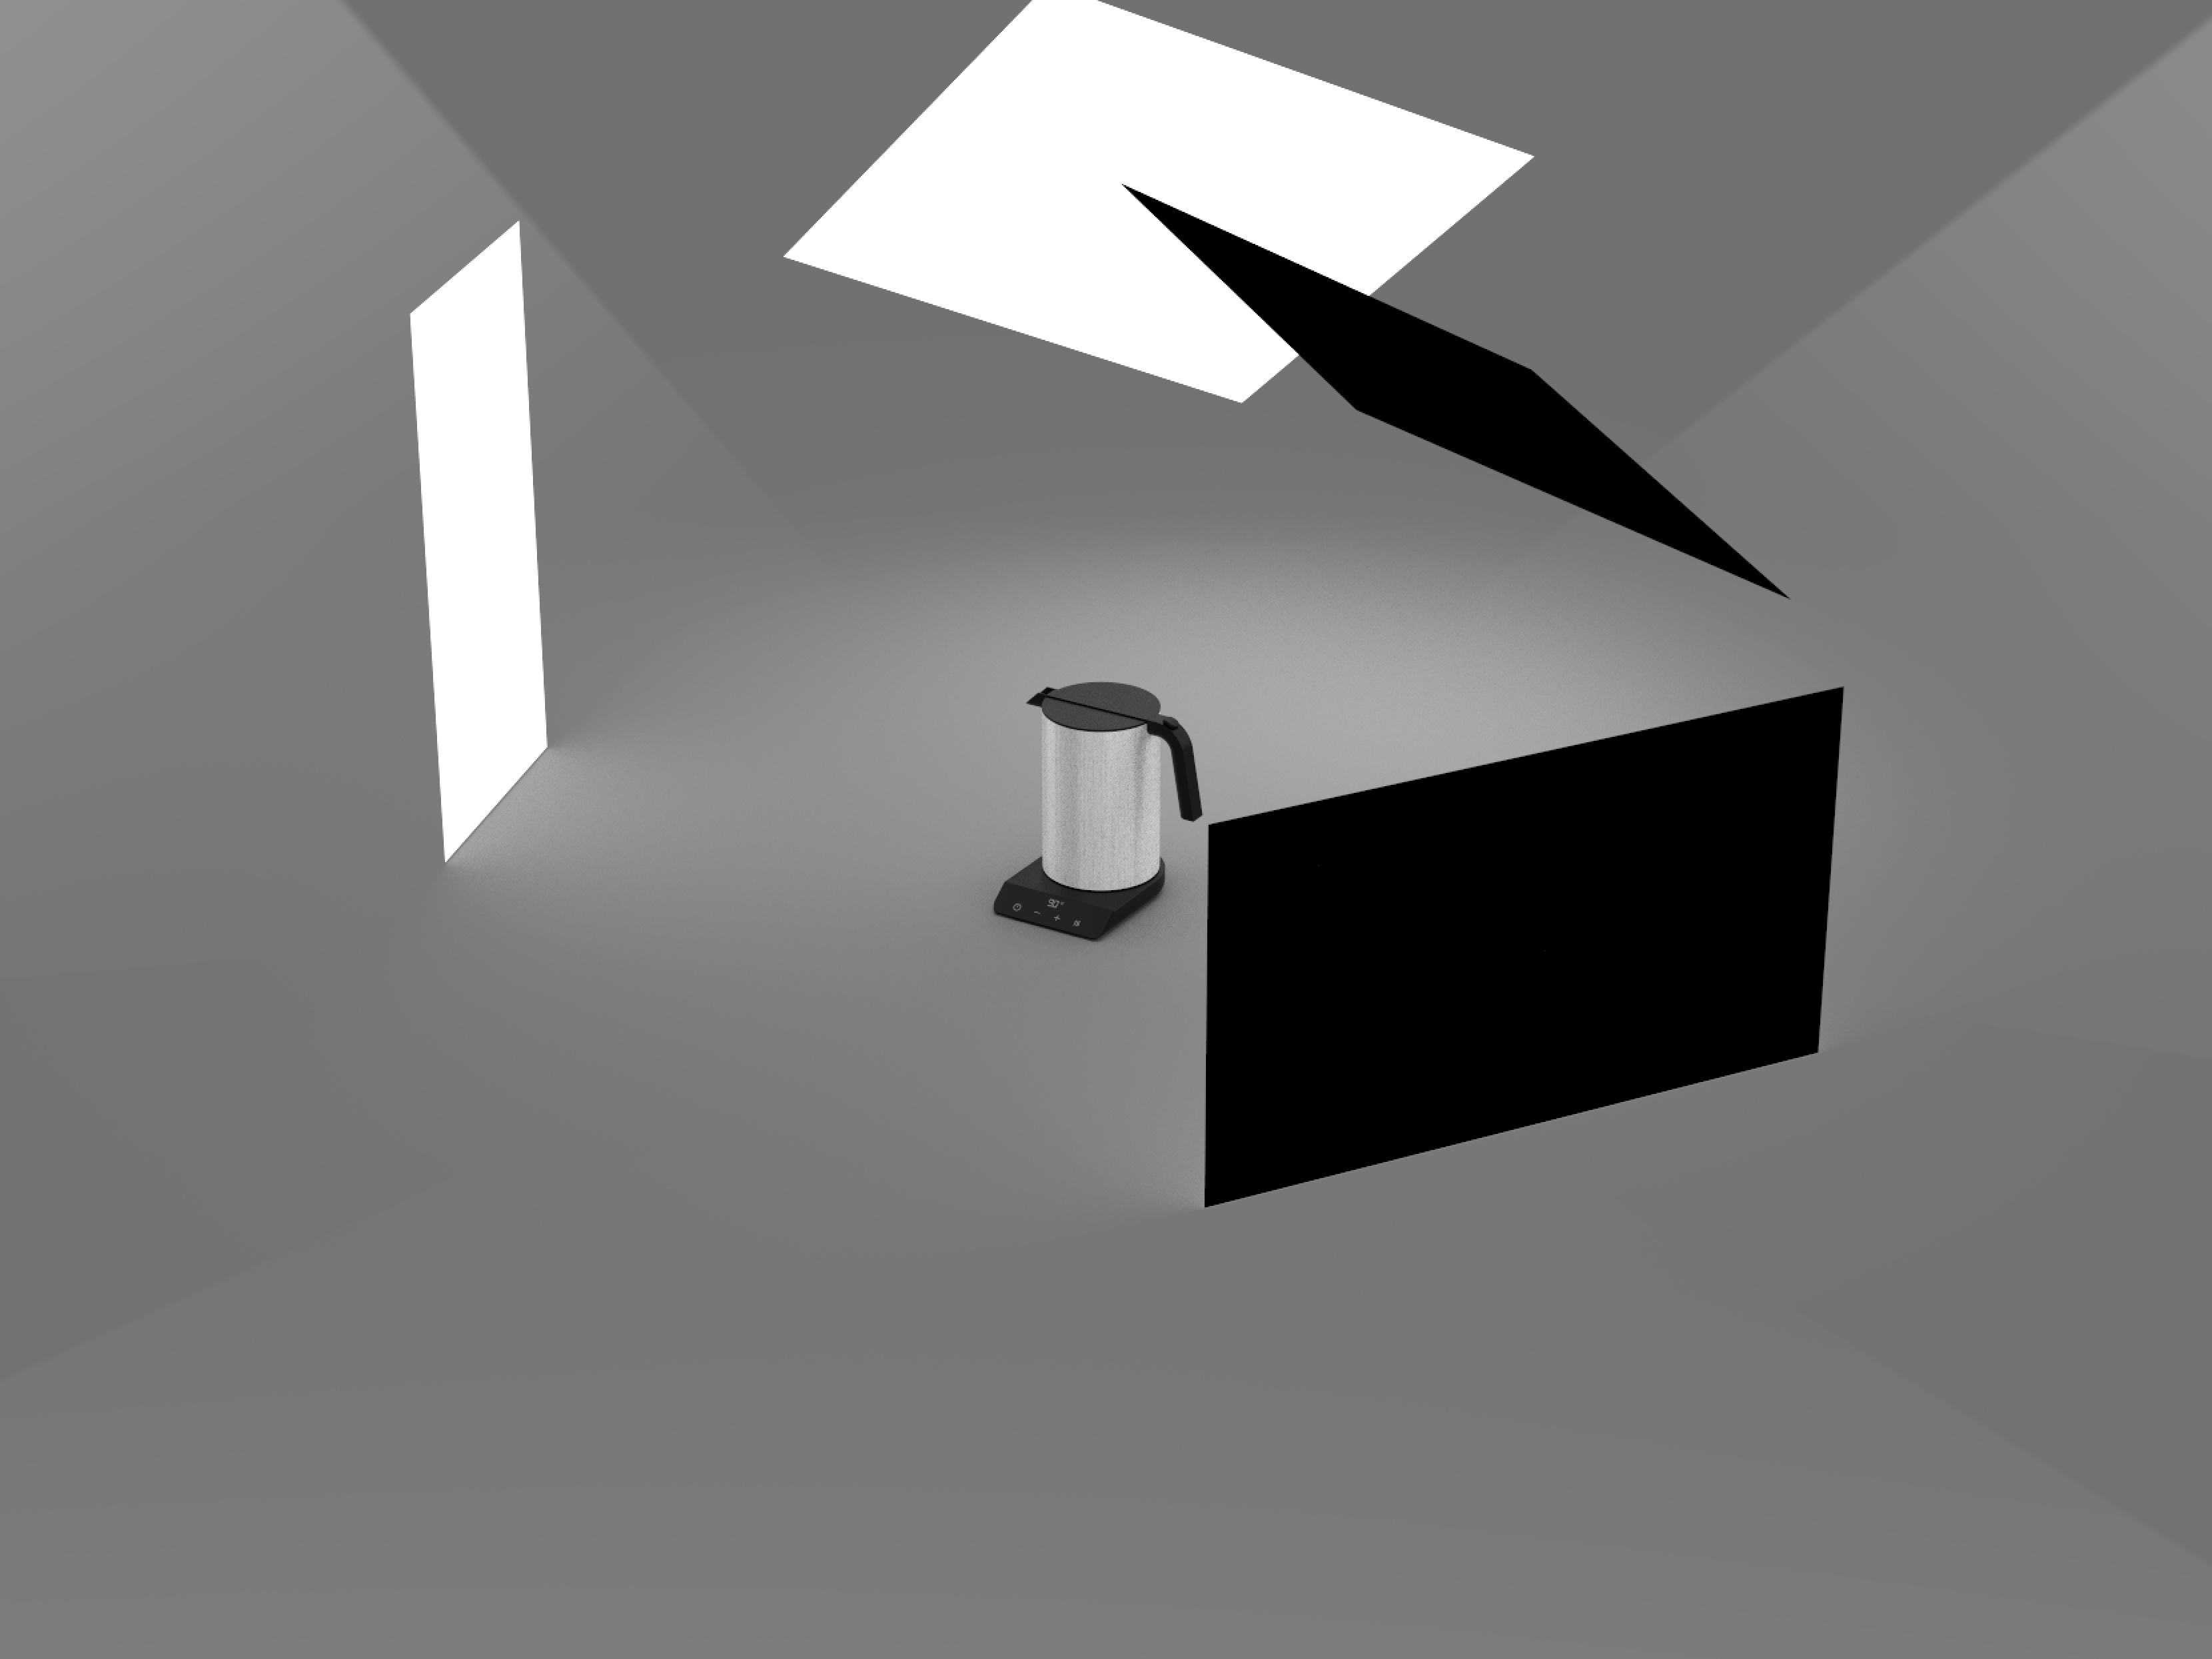
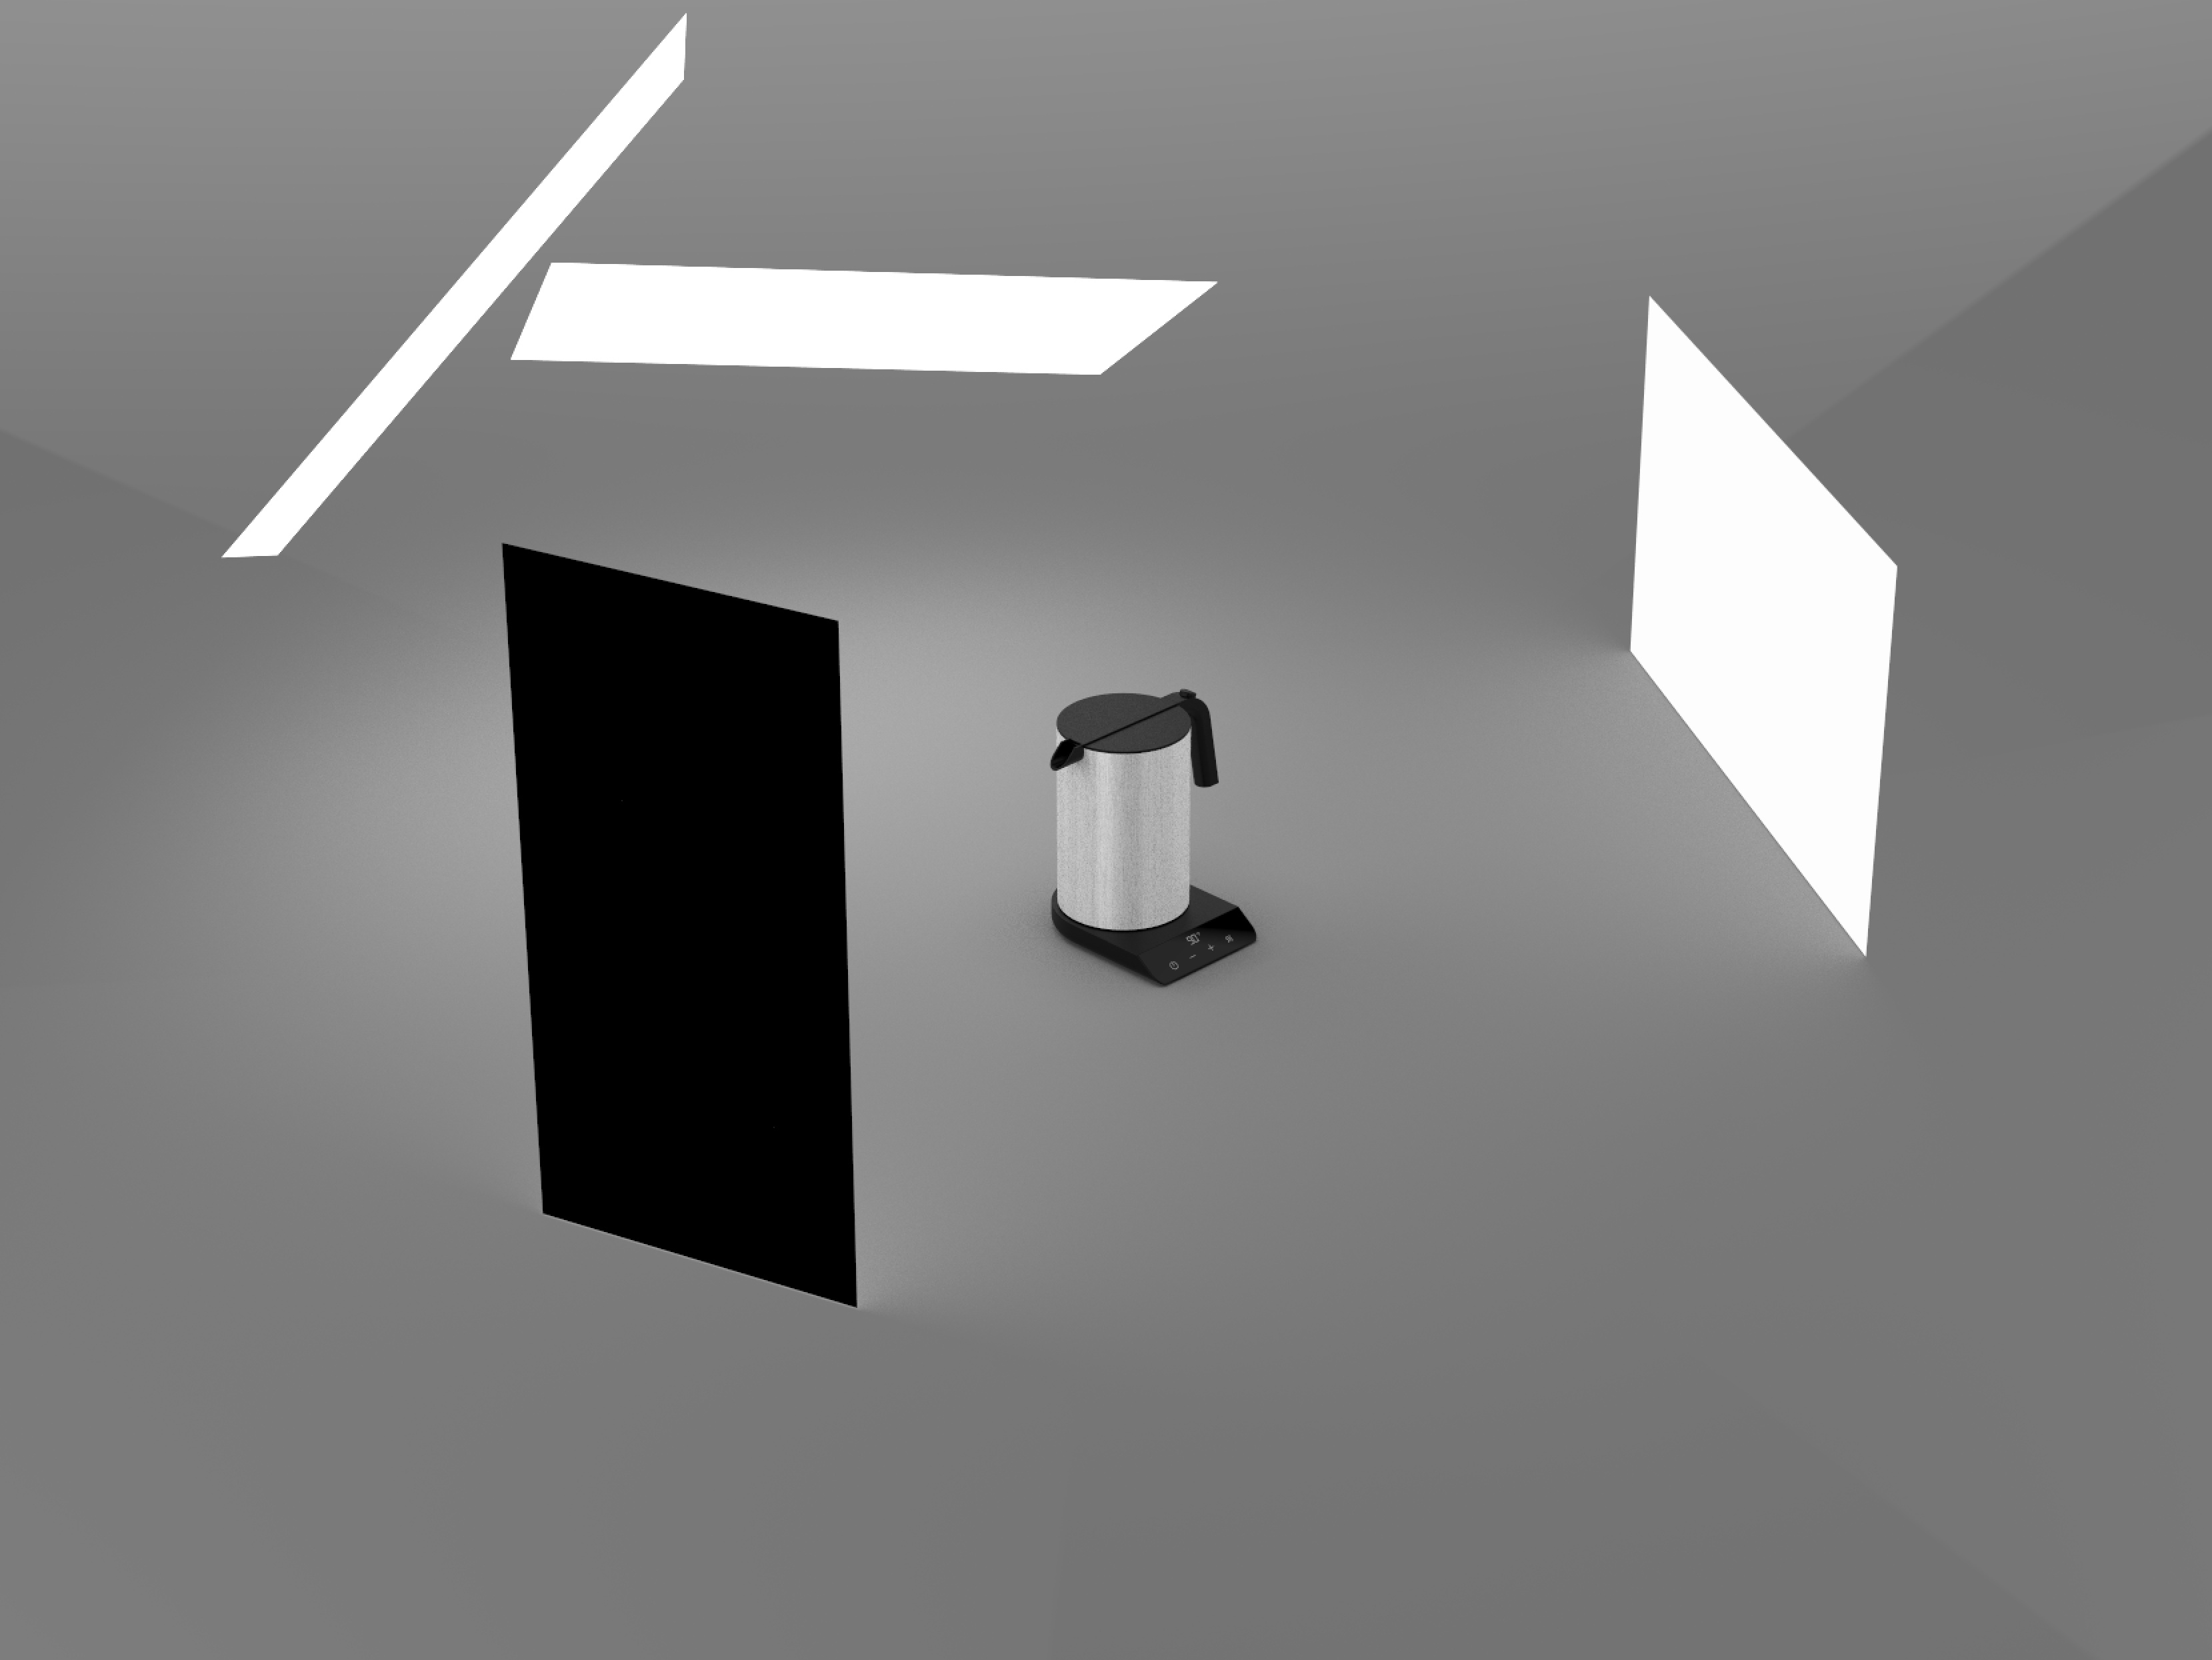
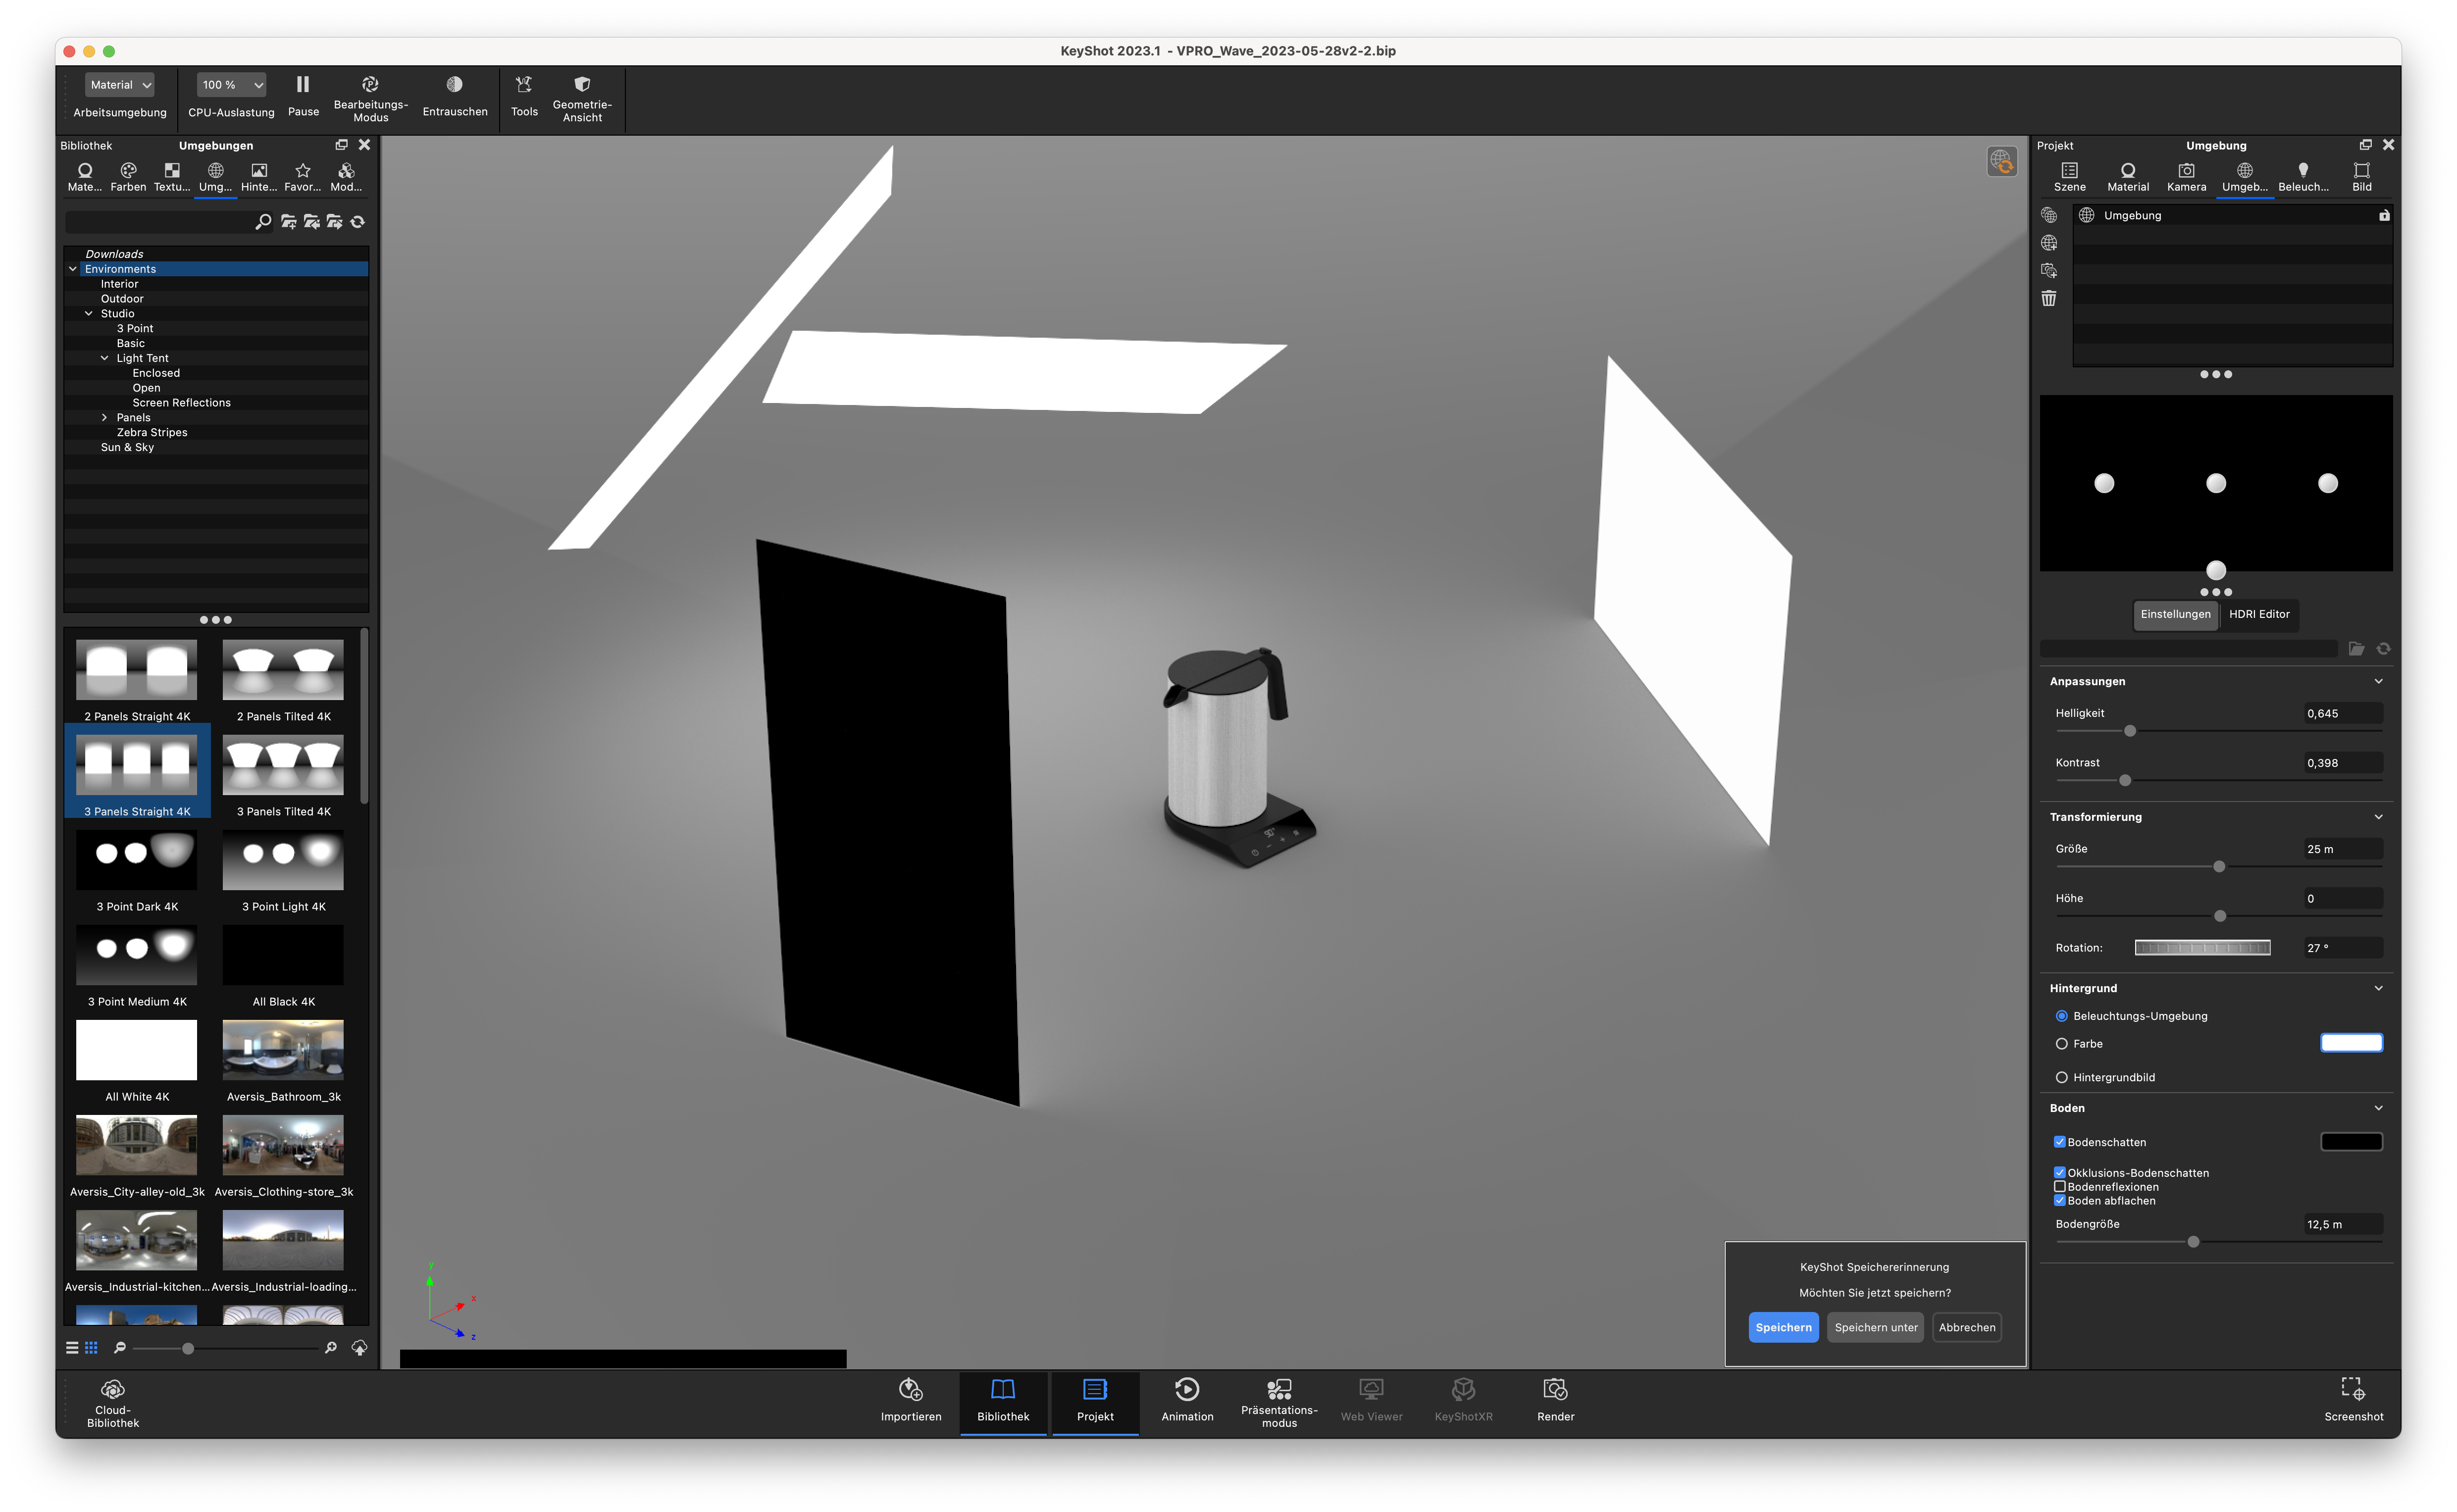
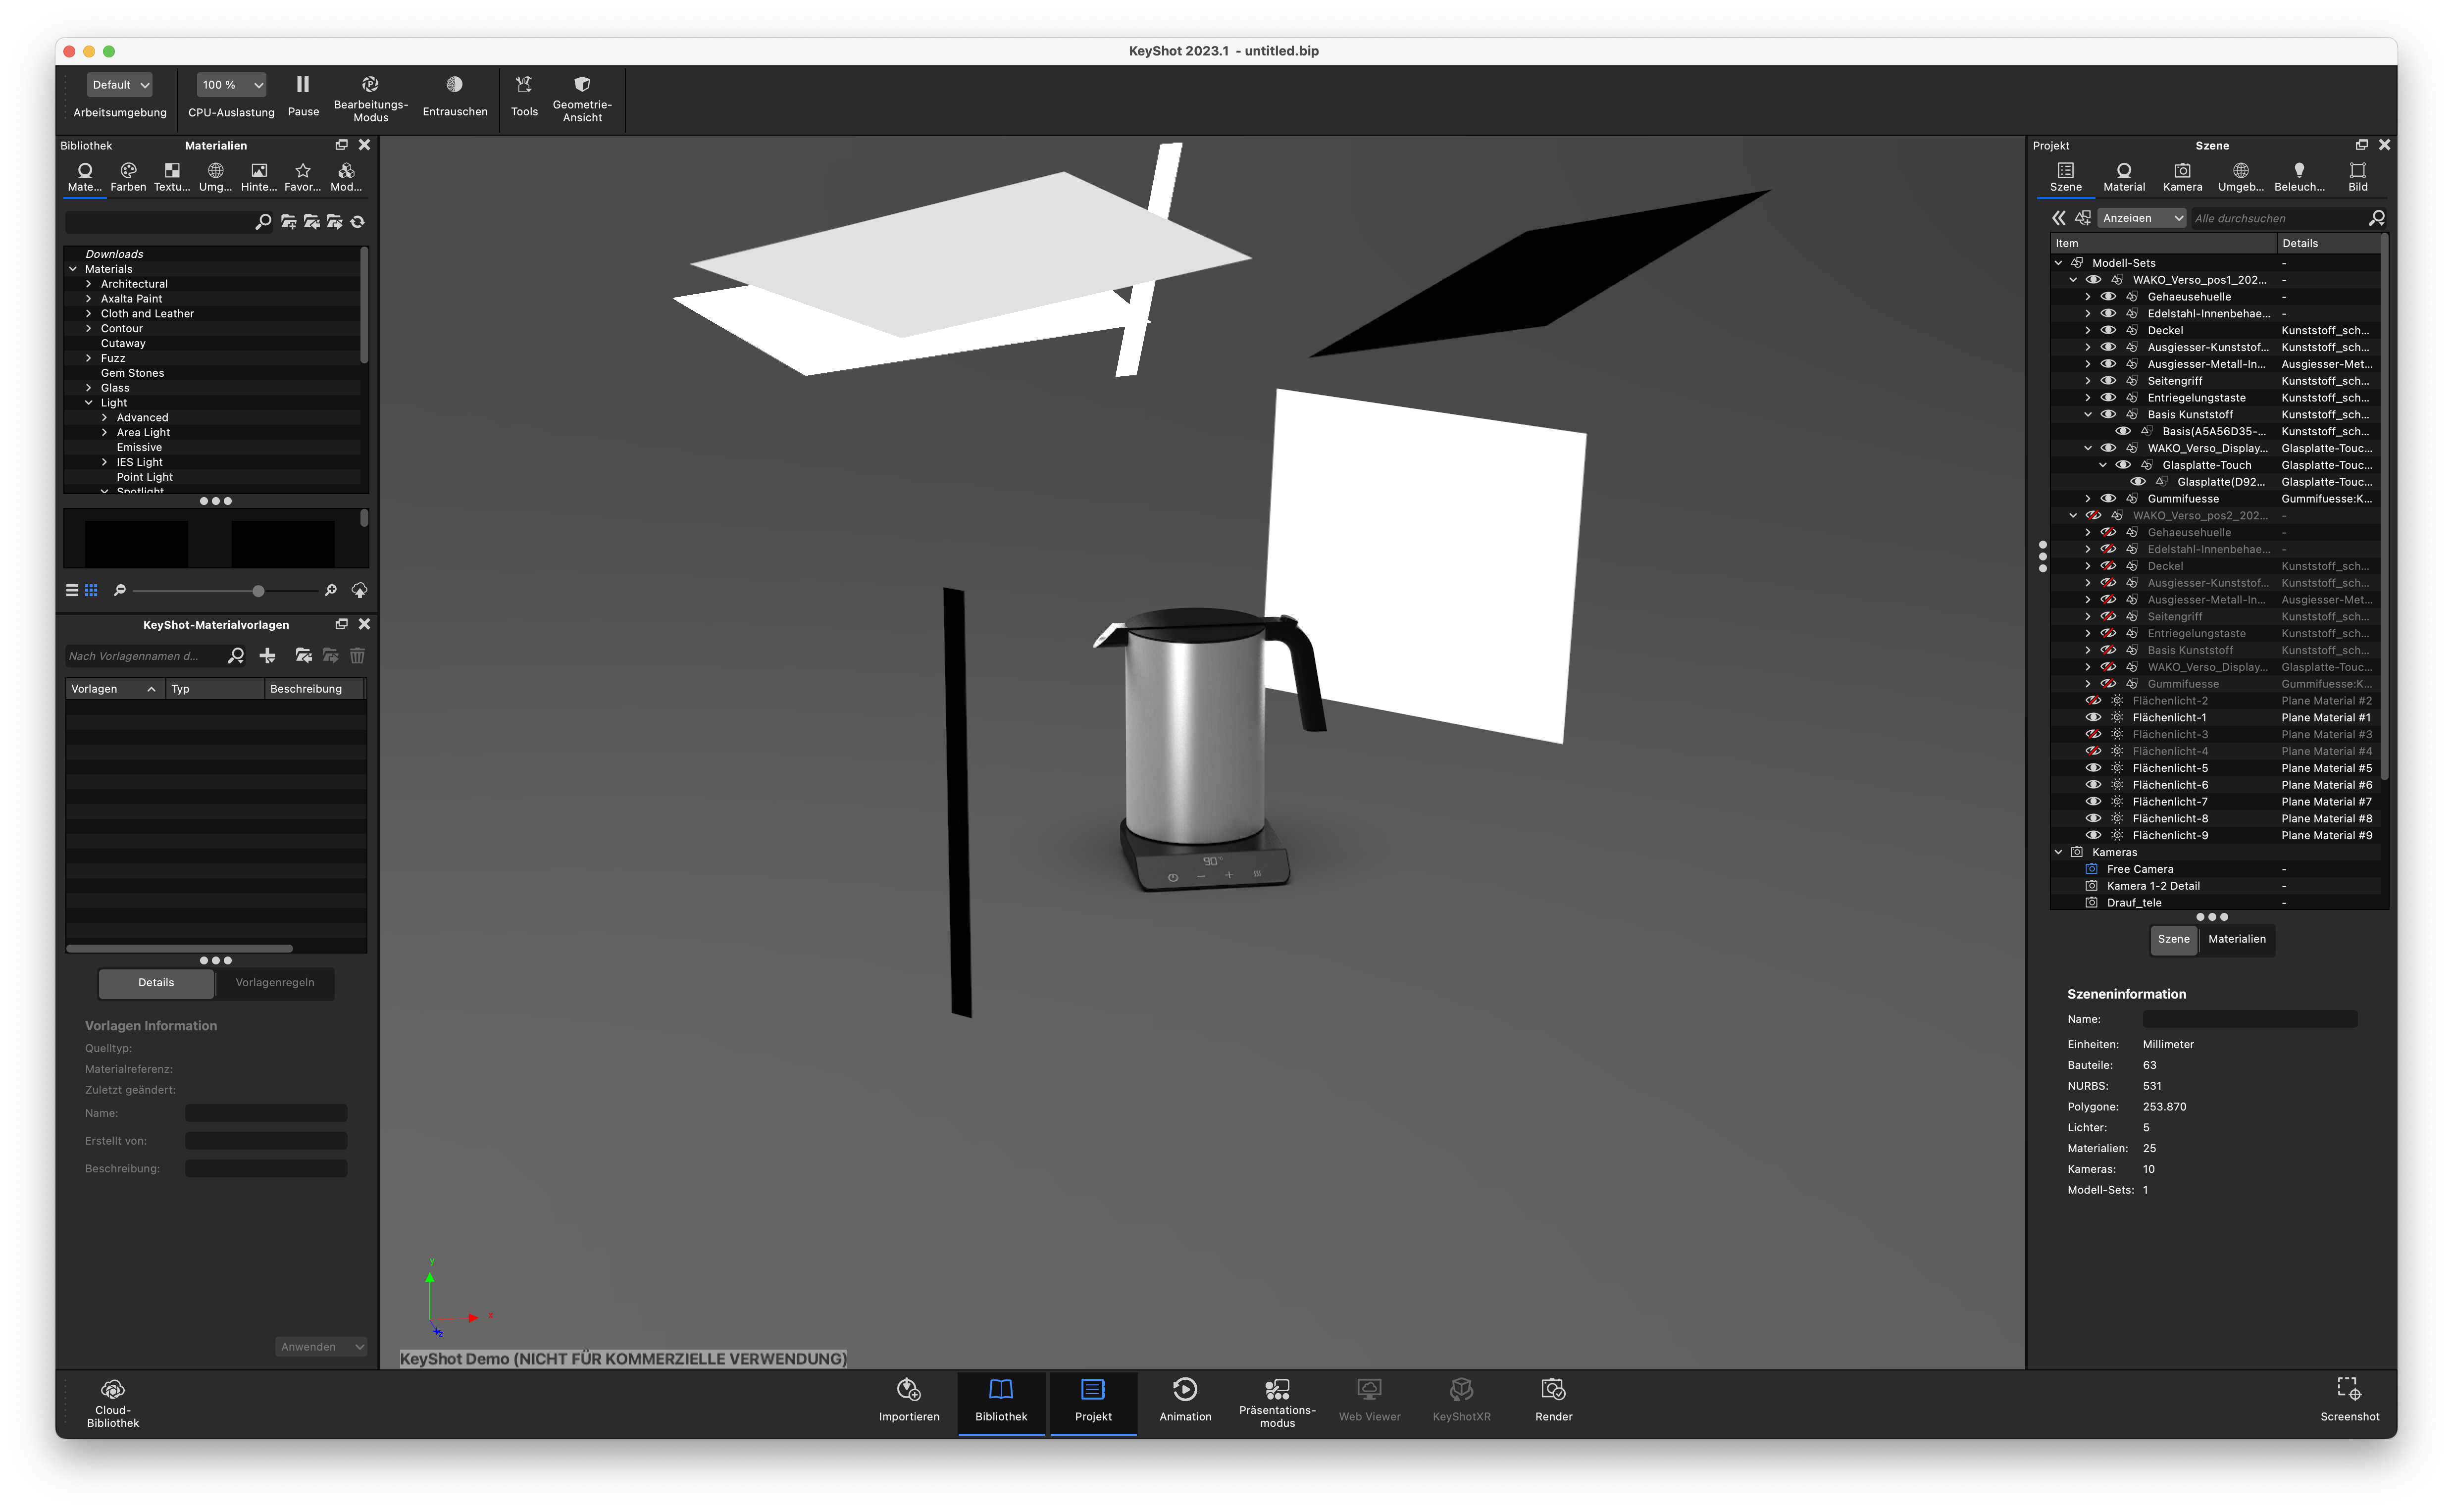
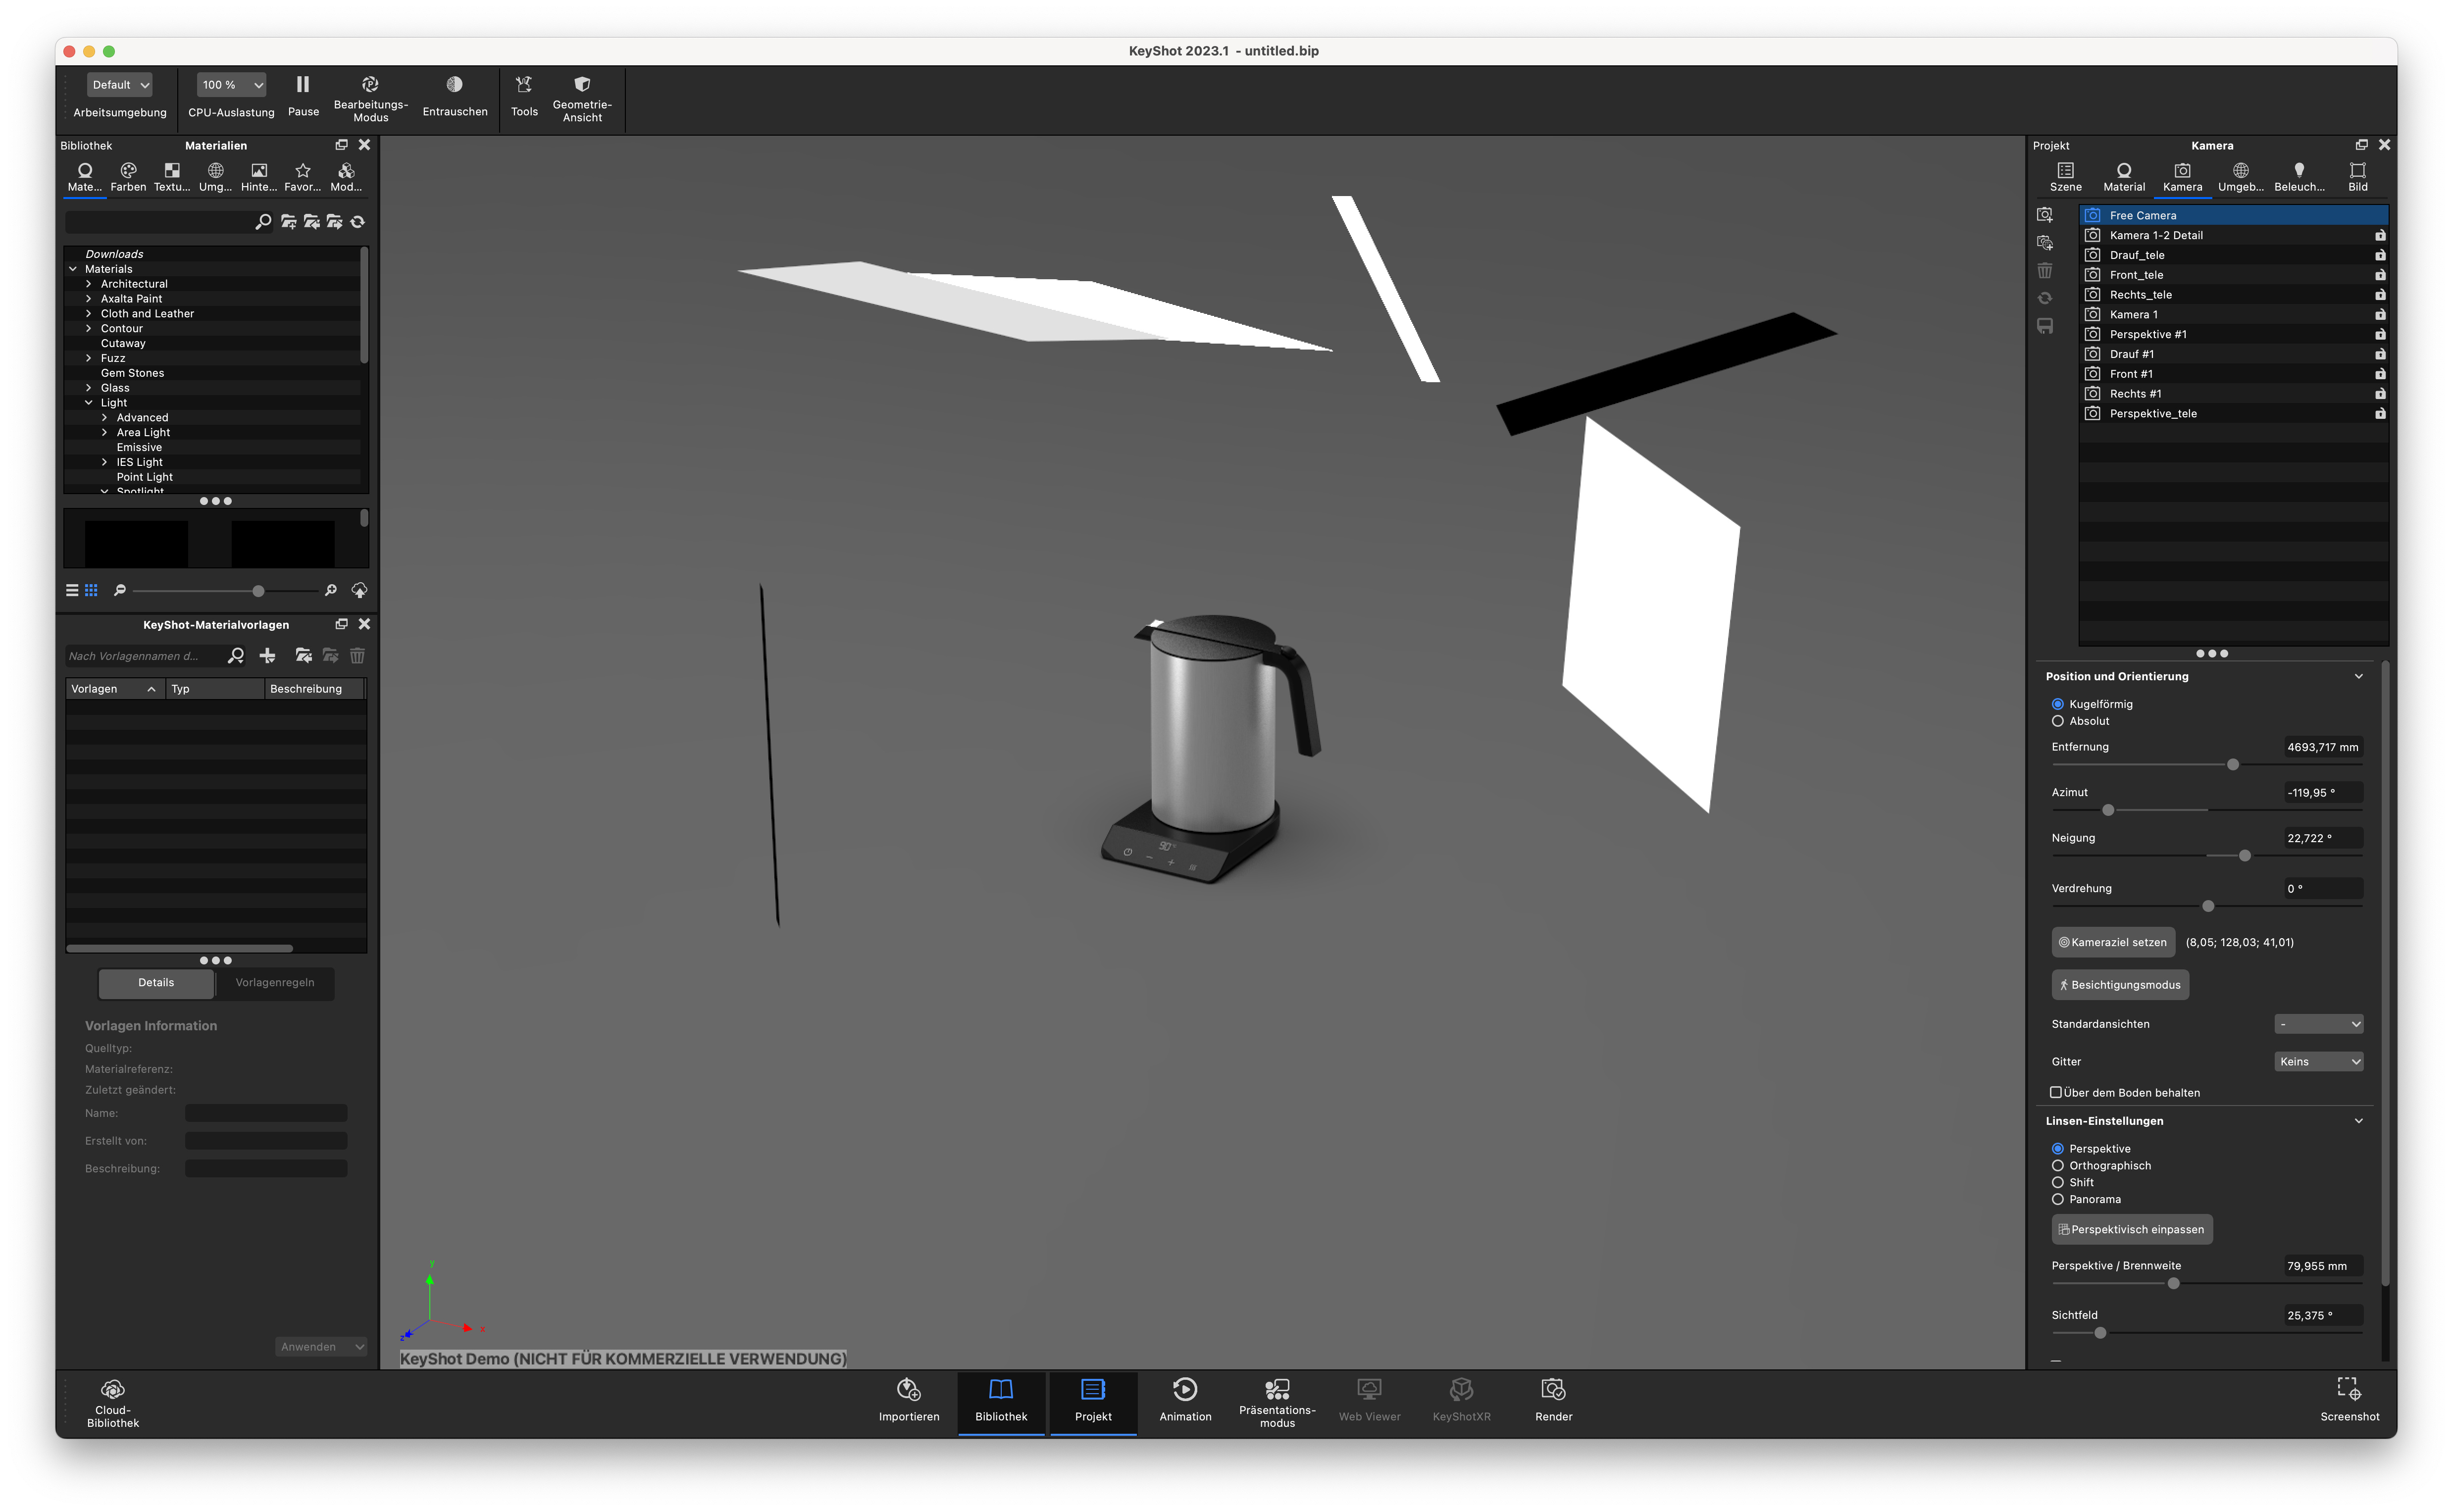
Thanks for your response! I had set up the scene completely as new. I set surrounding to zero, because I wanted to have full control of the Light planes I arranged like in a photo studio. See two telescopic views of the scene and a screenshot of the present KeyShot window.
@gabor.lengyel From what it seems like to me, your lights also seem to be too large. The way hardness of light works is the size and power of the light in comparison to the distance and size to the object. For the size of your kettle, the light panels being so large is giving extremely soft lighting. With such large lights in comparison to your subject, your shadows are going to be extremely soft - if there are going to be any at all. If you were to try to accomplish this through practical photography, it would be a lot of complicated light flagging or even compositing required. But you can cheat this in Keyshot by basically adding smaller lights into the scene and checking off the visible in reflections so it gives the hard light required to give the shadows you want.
Your kettle lighting is starting to look flat as well due to the lighting power ratios between them are too close together. To create contrast, you need to reduce the right main light power and the rear left light power several stops to get a more dramatic lighting setup.
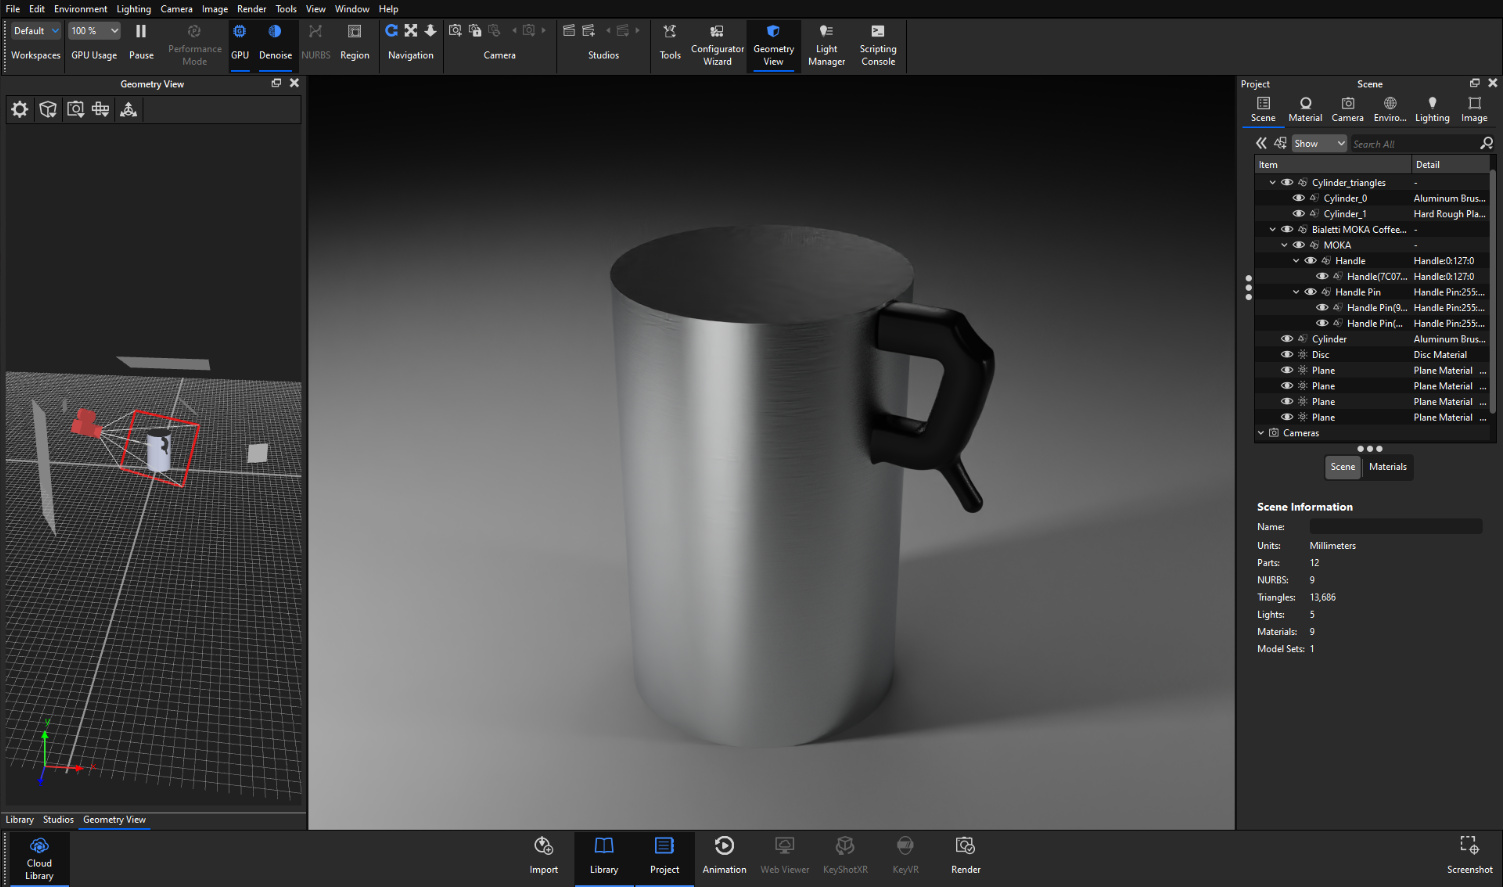
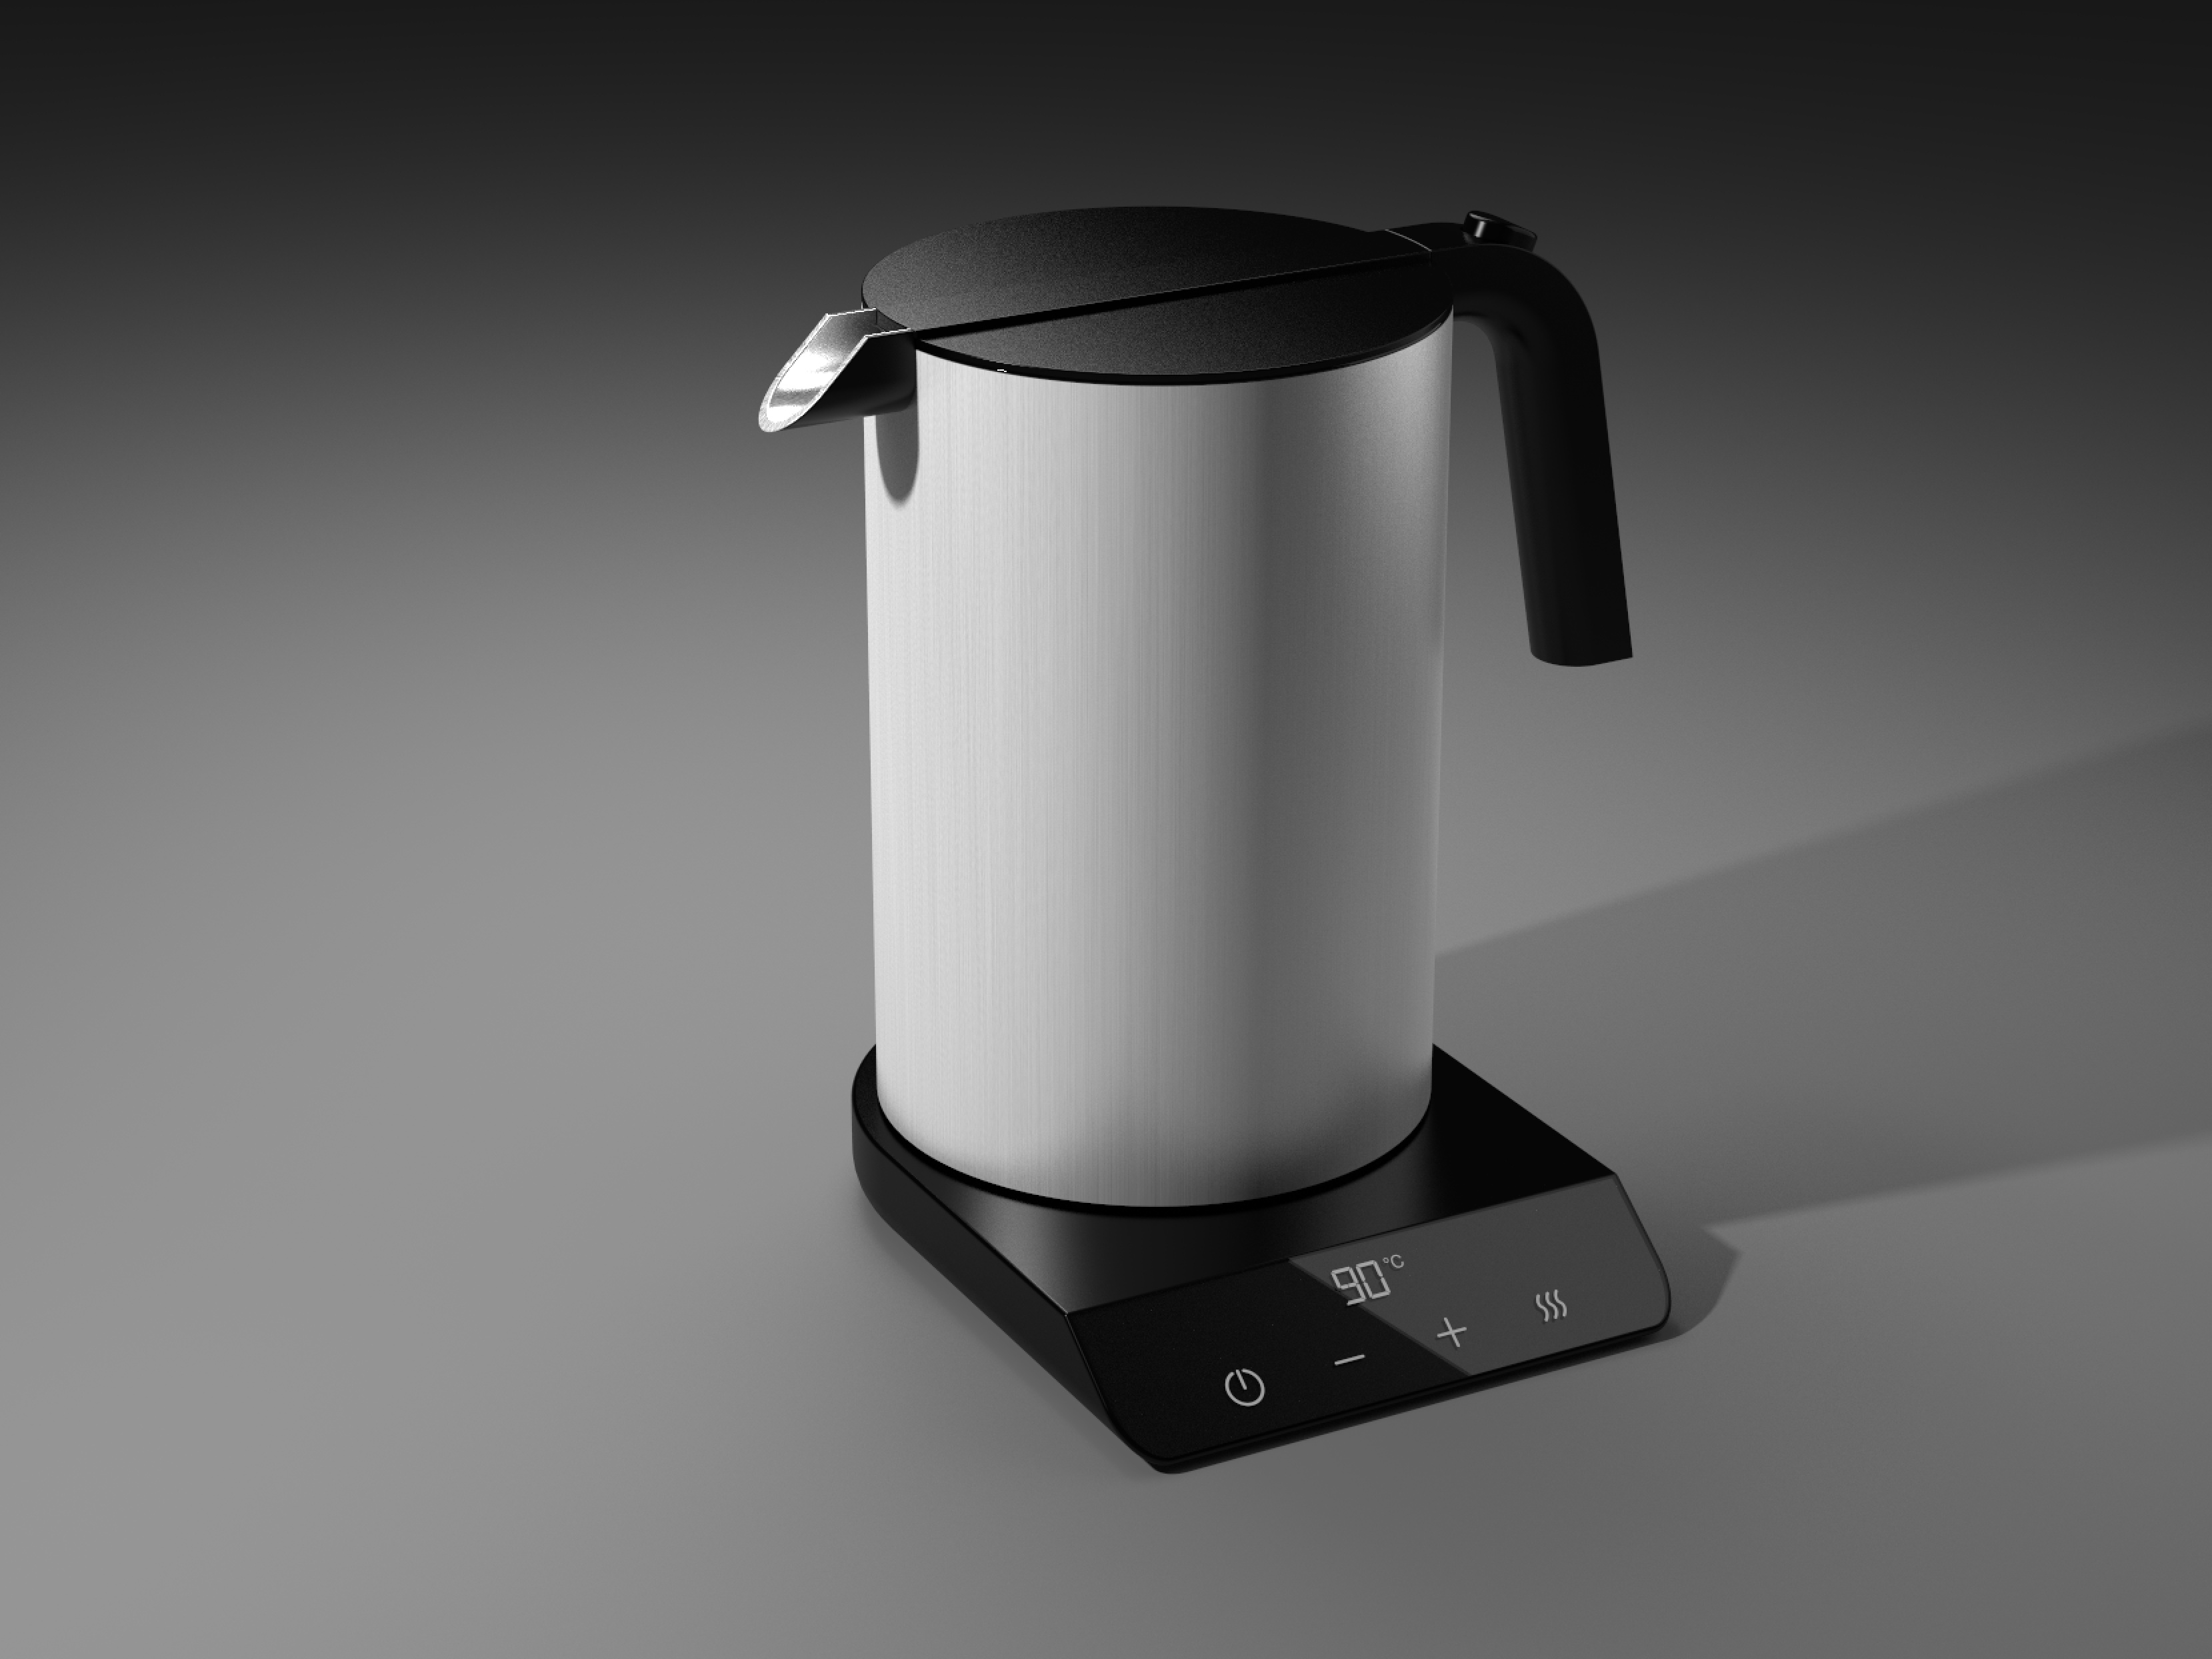
I put together a little example with a similar shape and texture to give you an idea about how the size of the lights and lighting ratios help create that contrasted look your are going for. It is by no mean perfect as I threw it together real quick and can use some fine tuning to the lighting, but this should set you on the path for some experimentation.
I honestly don’t have any experience with C4D, but the way Keyshot renders lights is very true to life and having a photography background, the way lights work is very predictable and I can modify them as I would in a real life studio.
@oliver.yu Thanks a lot! I’ll give it a try just as you suggested. I was a bit worried that I don’t get the results at least as good as with Cinema 4D, since I had rendered some objects really nicely with KeyShot. But the steel reflections of a cylindrical objects (if not chrome) require a more sophisticated lighting. Thanks again for your solid explanation. Now I am confident to find a way to render it the way I thought of. Cheers!
Looks like based on your screenshot, that you did not actually turn the HDRI brightness down very much. Set the brightness ot 0 or .1 and then increase brightness of those area lights and you’ll get something much closer to your other example that was not rendered in KeyShot.
@oliver.yu Hello again! I set the light up again. I actually used some light planes again, after I had started with vertical stripes only. One of them is left behind the left shoulder of the photographer to create this narrow highlight in the front area of the cylinder. I set up some light planes again to cast light on the lid, the handle and the button of the handle to show the plasticity of these details, and to create a reflection on the acrylic glass display in both positions of the kettle. Therefore I have no dominant shadow. What I can do in Cinema 4D is to select shadow casting ‘on’ or ‘off’ for each light I set up. Is there a possibility for that in KeyShot, too?
@will.gibbons Thanks for the advice! I turned surrounding very low and I don’t use the light areas of the surrounding for reflections on the kettle. I am still not there yet, where I want to be regarding the shadows (see my reply to @oliver.yu).
@gabor.lengyel even if your HDRI overall brightness is tuned down to .1 color of the background plane in the HDRI will be reflected in the metal. Try to tune it from middle grey to dark and you will see the difference.